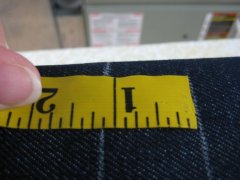
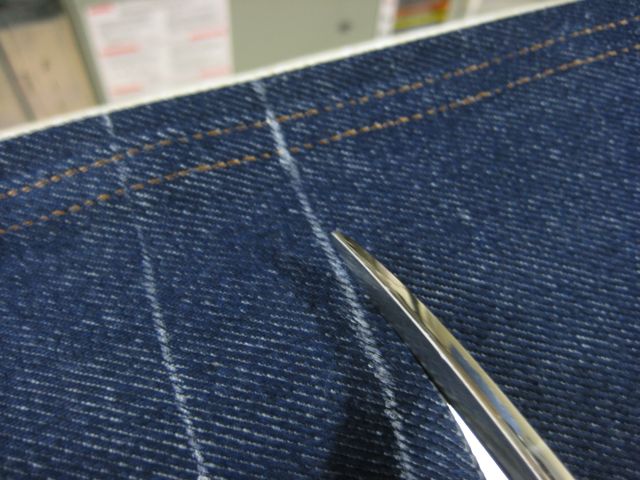
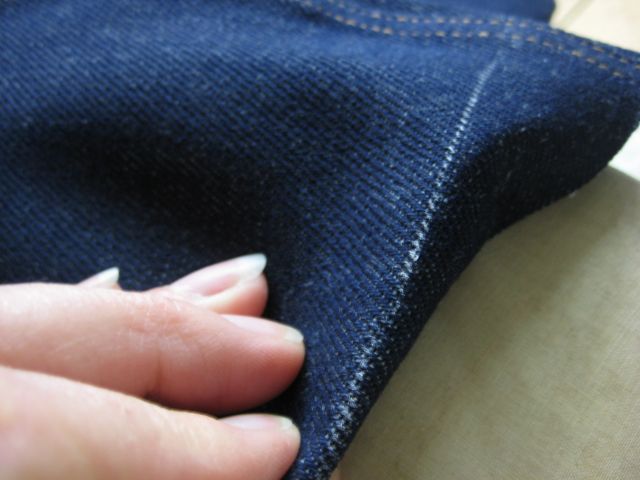
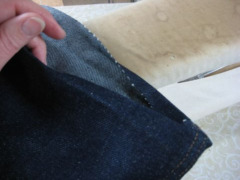
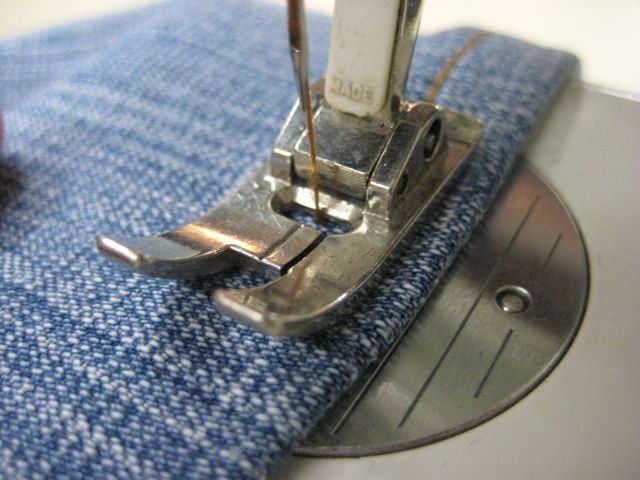
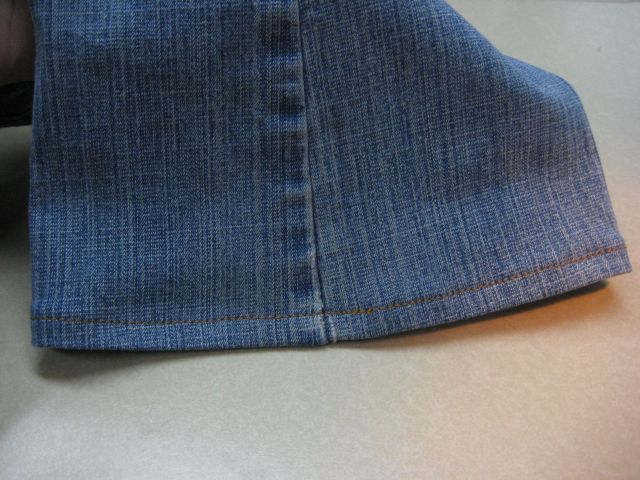
If you follow the steps below, you'll learn how to hem jeans so that they look much like the original. The key is to make the final topstitching 1/2" to 5/8" from the bottome edge. This skinny hem is more attractive and looks less like it's been altered.
 | STEP ONE:Measure the amount to be shortened and mark that from the bottom up. When I begin to hem jeans, I make a tailor's chalk line around the entire leg. You could also try using a water soluble marker. |
 | STEP TWO:Rip out the old stitching. Note:If the amount you are shortening is greater than 1¼", you can skip this step. |
 | STEP THREE:Mark 1 1/8" down from the chalk hem line to get your cutting line. Mark all the way around the leg. Using a sleeve board will make this quick and accurate. |
 | STEP FOUR:Cut along this bottom chalk line. Now each leg has a line marking the new hem line. The extra inch and one eighth becomes your hem allowance. |
 | STEP FIVE:Fold the hem allowance along the chalk line toward the inside of the pants. Press well. |
 | STEP SIX:The 1 1/8" hem needs to be folded in half again, around 5/8" from the edge. This hides the raw edges inside the hem. Press. Then fold this hem allowance up once on the 5/8" fold line and again on the 1 1/8" fold line. Press. |
 | STEP SEVEN:Stitch about ½" from the bottom edge. As shown here, I usually do this on the right side, so I know how it will look. If you feel more comfortable, do this with the jeans inside out. |
 | STEP EIGHT:Your finished jean hem will look like this.Use jean thread and a jean needle for best results. You may also need a hump jumper when you stitch over those thick inseams and outseams. |