Taking in Princess Seams to Fit Plus Size Formal Wear
Many dresses have princess seams in the front. They make the bodice more shapely. The bust area of a dress should fit snuggly against the body.
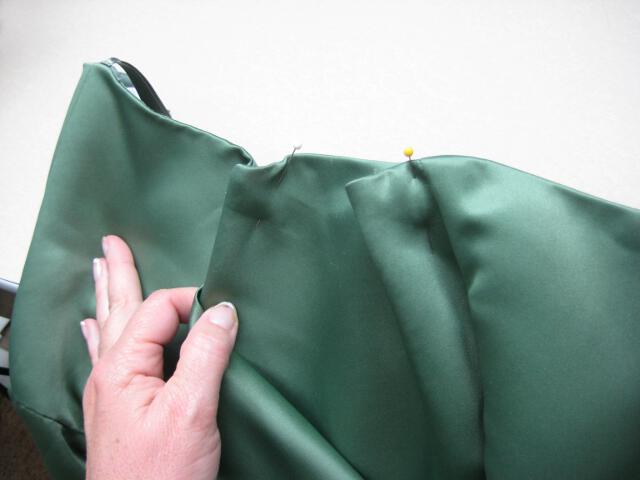
Plus size gals need the bust area to be large enough to accomodate "the girls". But this often creates a problem across the upper edge of the dress. It is too large to hug the skin and it gaps open.
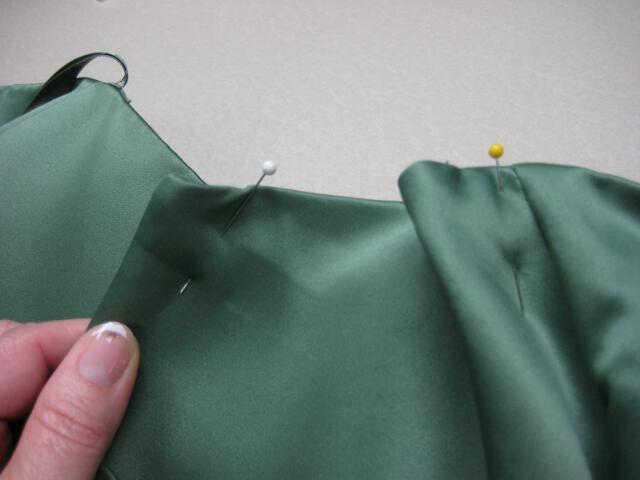
The following instructions will illustrate how to take the princess seam in on formal gowns. You can use the instructions to alter a prom gown, bridesmaid dresses or even a bridal gown. The amount to take in varies by wearer, of course, but on a plus size gal it may be as much as 3" per side.
A Note About Terms I've Used ...
I've made some assumptions in labeling different parts of the dress.
A Formal Dress , for our purposes, is a dress or gown made from a satin or silk type fabric, is often lined, and could be strapless. Most formal gowns have boning in the bodice. Many have princess seams.
The bodice is the area of the dress above the waist. Sometimes the seam dividing the bodice from the body of the dress is not at the waist at all, but under the bustline.
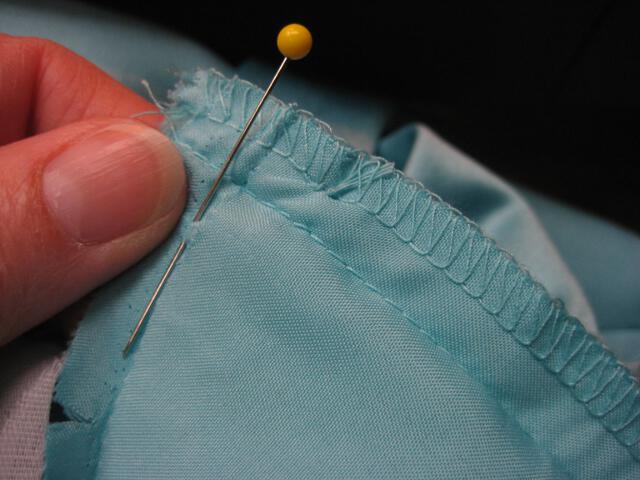
The Upper Edge is the top part of the dress going across the chest, under the arms and around the back. It can have straps or be strapless.
The Fashion Fabric is the outside fabric, the "right side" of the dress. The opposite of this would be the "lining"
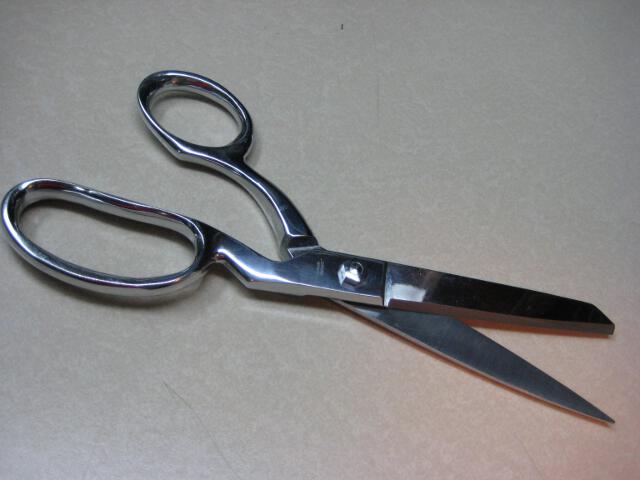
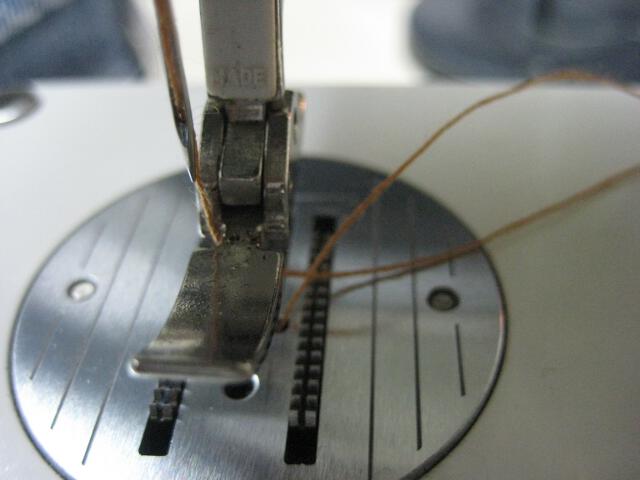
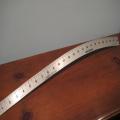
Here's What You'll Need ...
 |  |  |  | | Scissors | Zipper Foot | Heavy Duty Needle | Ruler |
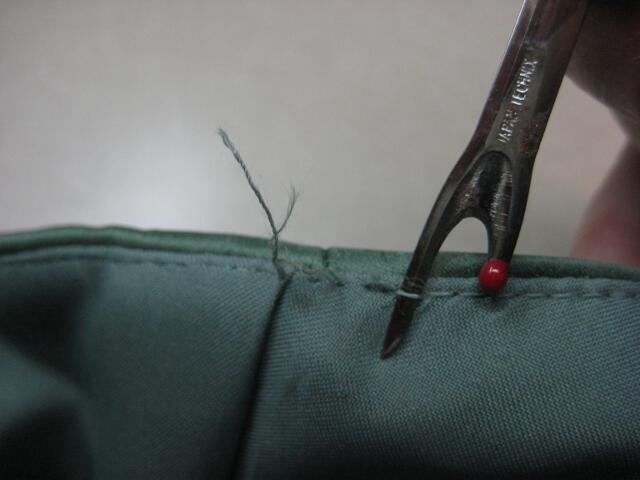
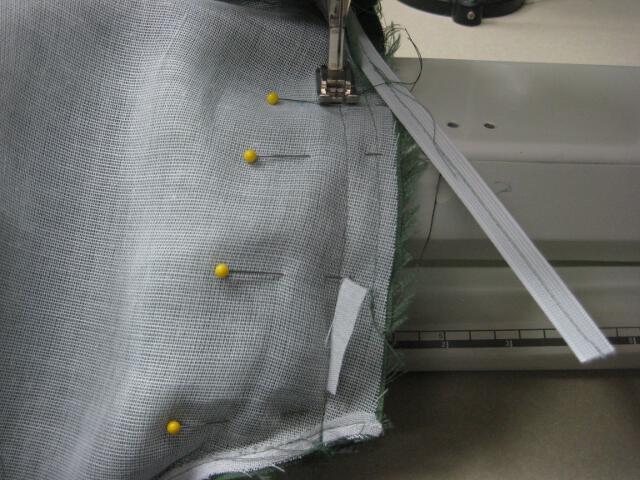
Chart One: Rip Out Stitching
 | STEP ONE: OBSERVEThe garment has been pinched and pinned where the princess seams need to come in. The pins have been placed slightly to the side of the princess seam, since it is too hard to pin through boning. Measure and transfer the amount to the seam. |  | STEP TWOHere is a wider view of the dress as it is marked. In this case, there is a lot to be taken in. This happens in a larger busted girl when the bust itself fits pretty well, but the upper edge is way too big. |  | STEP THREEBegin by removing the understitching. Rip the stitches on either side of the princess seam, where your pin marks are and extending beyond about an inch and a half. This gives you room to work on the seam. See Step Four's photo for clarity. |  | STEP FOUR Also remove the stitching that joins the lining to the fashion fabric. Remove these stitches on both sides of the princess seam, but not quite as far as the understitching you removed in Step Three. |  | STEP FIVEHere is what the top edge of your garment should look like. The lining and fashion fabric are separated from each other near the existing princess seams. It's time to flip the dress inside out. |  | STEP SIX 
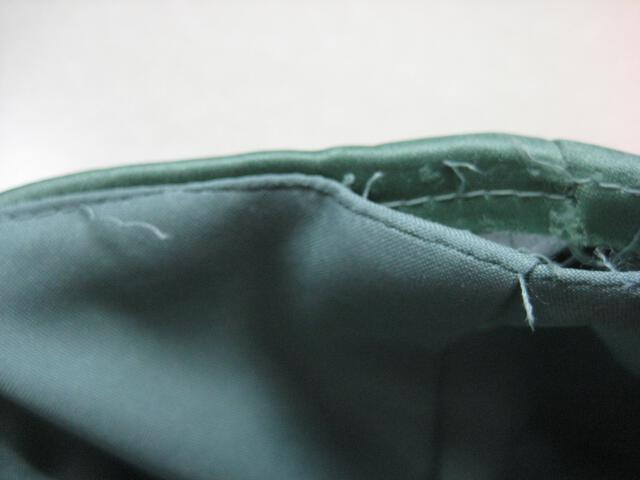
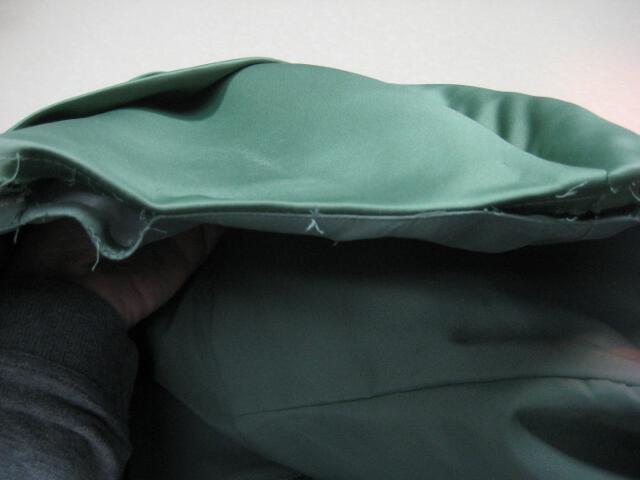
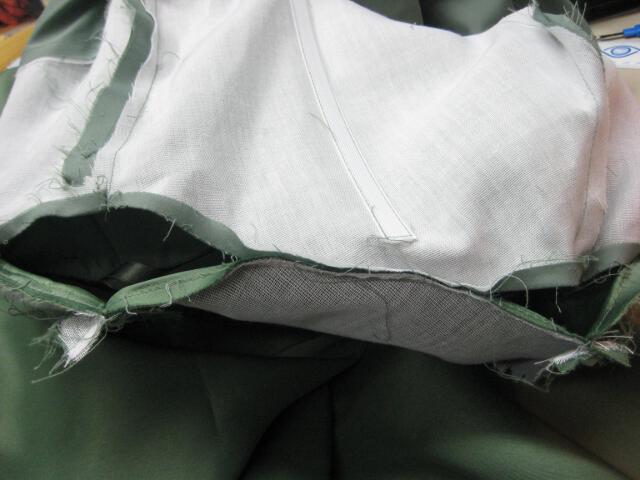
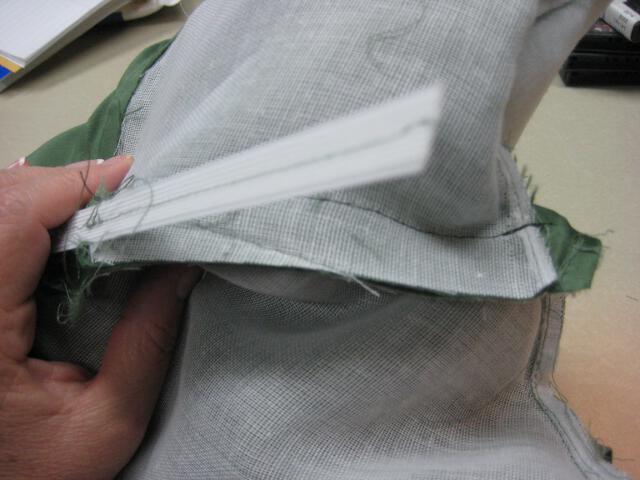
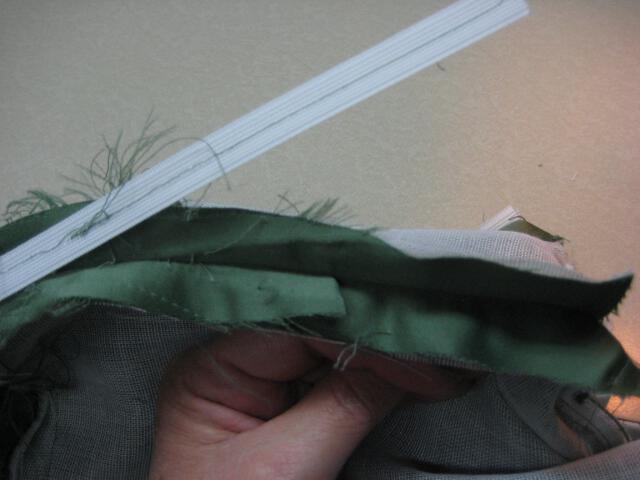
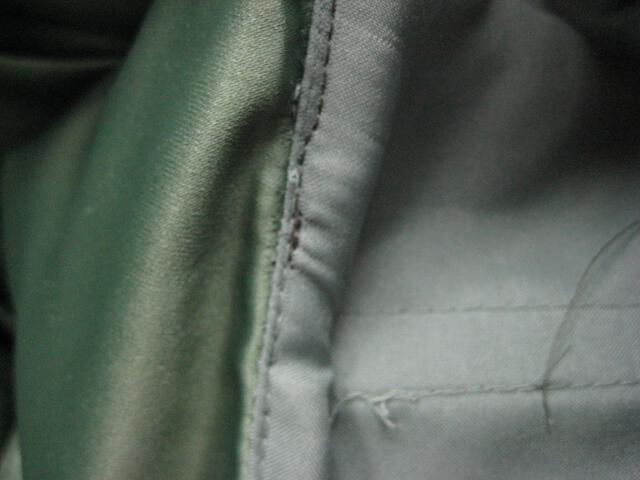
Here you see the inside of the dress. The white that you see is a very stiff interfacing, often used in formal gowns. The center section of boning is clearly visible too. |  | STEP SEVENExamine the boning. In this dress, it is stitched directly to the seam allowance. Sometimes it is stitched to the lining and sometimes it has been inserted into its own casing. These basic instructions are still the same in each case. |  | STEP EIGHT Remove the stitching that attaches the boning to the dress. You do not have to remove the piece of boning entirely. The bottom of it can stay attached, making replacement easier. |
Chart Two: Replace Princess Seams
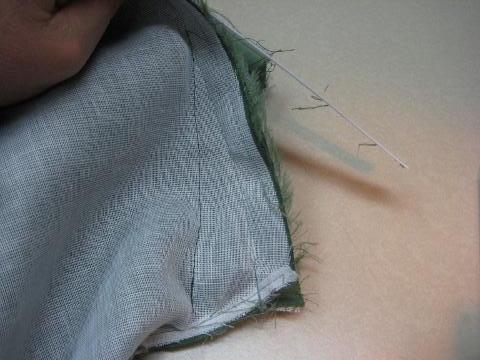
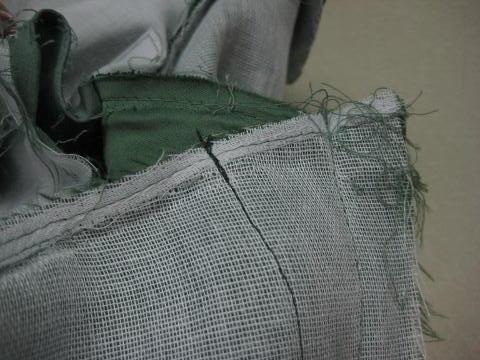
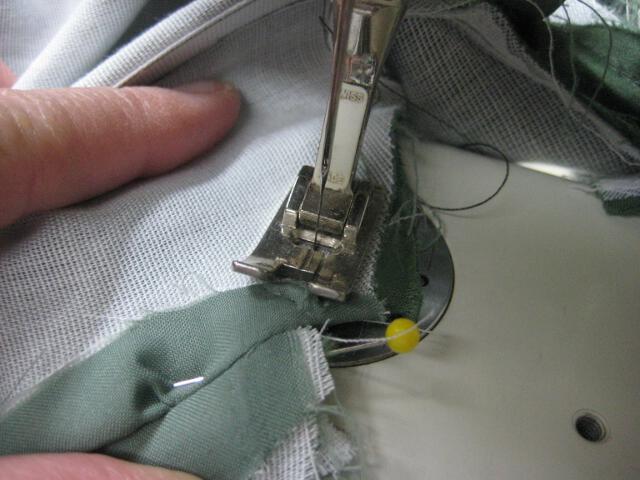
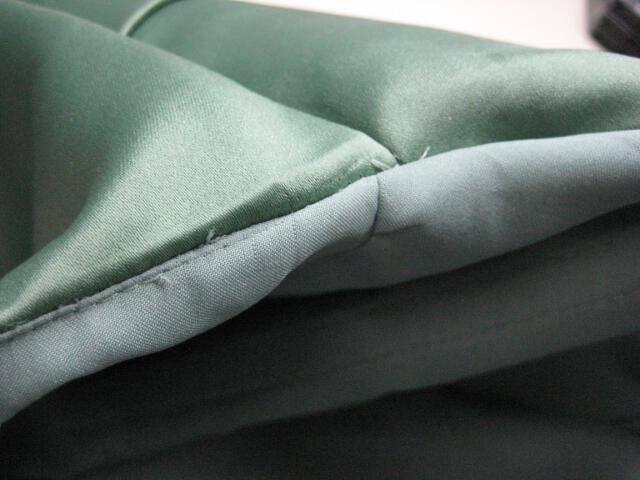
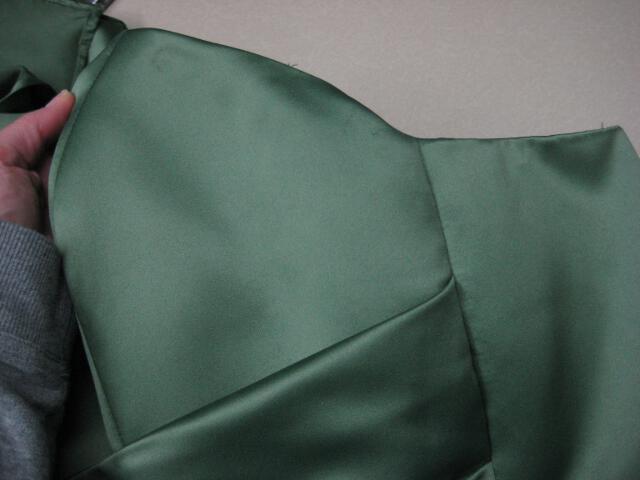
 | STEP NINEI have used pins to mark the new seam line. You can use whatever marking method that you're used to. Beginning at the old stitching, gradually taper inward on your new markings. Make sure this is a gradual curve or you'll have a pointy seam. |  | STEP TEN:Here is the wider view. The amount to take in here is a lot, so I am careful to taper gently into the existing seam. If this angle is too severe, you'll end up with an embarrassing "pointy bust". |  | STEP ELEVEN: Your new stitching line will look something like this. The boning is out of the way for now and the new seam will tighten the bust area. And see the gentle curve where the new and old stitches meet?
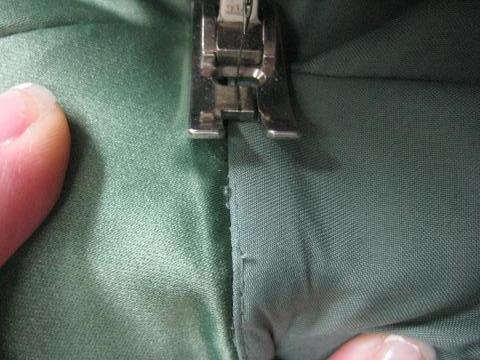
 |  | STEP TWELVE: If you are taking in a lot, like I am, you will have a mismatch at the top edge. Sew your bust seam so that it is not puckered, and we will address the uneven top edge in Step 17. |  | STEP THIRTEEN:Check the fit at this point. You have extra seam allowance, so it won't be a true fit, but it will be close. If you are satisfied, cut the excess seam allowance down to between ¾" and 1". Press seam allowance open.
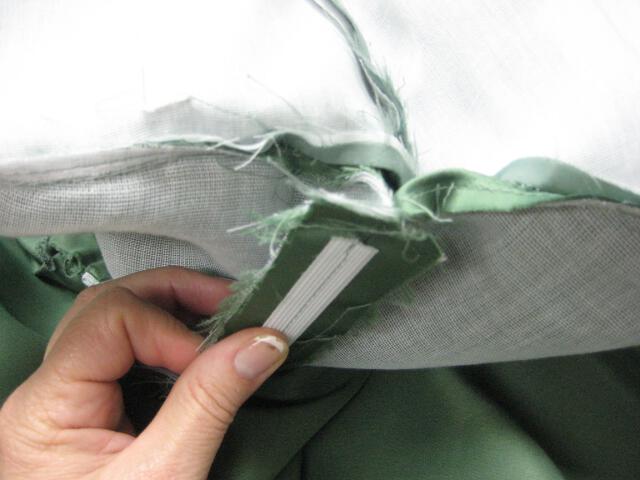
 |  | STEP FOURTEEN: Now you want to repeat this process on the lining. If the boning on your dress is attached to the lining, not the fashion fabric, then reverse Step 13 and Step 14. |  | STEP FIFTEEN:Now we want to reposition the boning. Remove the old loose stitches and lay it down on one side of the seam allowance. You may have to manipulate it a little, as it has a little spring to it. Pin in place if you like. |  | STEP SIXTEEN:Now stich the boning to the one side of the seam allowance. Just run your machine right down the middle. If there was a fabric cap on the end, be sure to replace that and stitch it down as well. |  | STEP SEVENTEEN:Here is a close up of the boning. Make sure you don't catch the actual seam or the rest of the dress in your stitches. This photo also shows the uneven top edge mentioned in Step 12. |
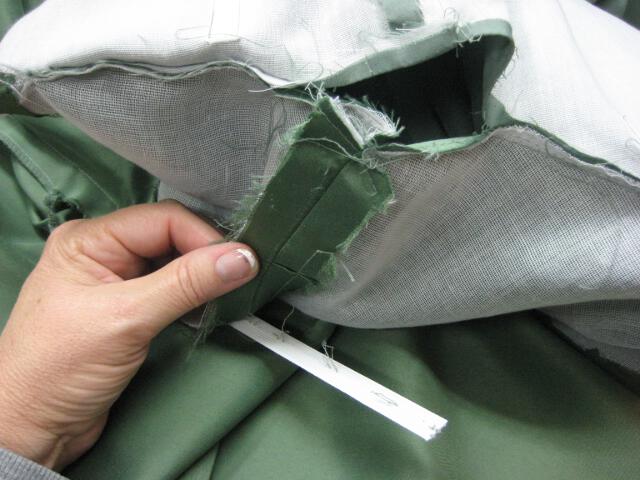
Chart Three: Finish Boning and Top Edge
 | STEP EIGHTEENYou'll need to redraft the top edge line. You can draw this, using a hip curve ruler, or just eyeball it. Either way, you want as smooth of a new line as you can get. Use the shorter side as your starting point. Then stitch. |  | STEP NINETEEN 
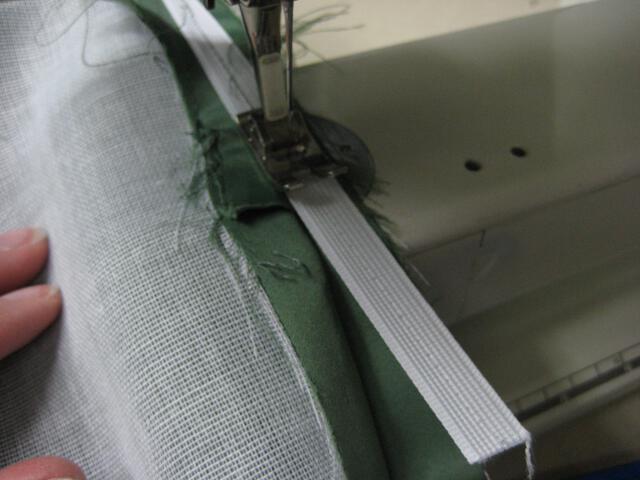
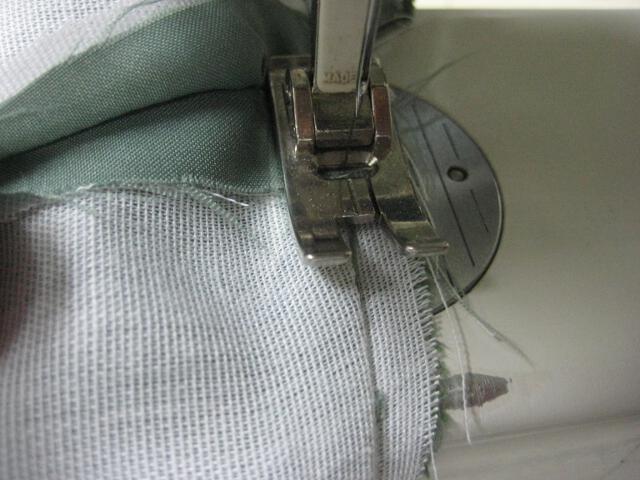
Continue your stitches until your needle meets the existing edge seam. Join the two seamlines and backstitch to secure. Your new line needs to be fairly straight. |  | STEP TWENTYWhen you are finished, turn the dress right side out and your new top edge should look like this. Watch for excess thread or parts of the seam allowance peeking out the top. It is common and it tells you that you need to rip and redo. |  | STEP TWENTY ONENow it is time to replace the understitching. Carefully put the inside portion of the dress under the machine while keeping the fashion fabric and its interfacing to the left. Reach under and push all of the top edge seam allowance onto the lining (right) side of your needle and stitch. |  | STEP TWENTY TWO
Your understitches should look like this. They have sewn the seam allowance to the wrong side of the dress -- the lining side -- so that it doesn't roll to the right side when on the body. |  | STEP TWENTY THREE And this is the finished product. Yours may look different, if your dress didn't have an extreme amount taken out of both sides. The "dip" in the edge line is not noticable when you have the dress on the body. |
In Closing...
Most alterations to princess seams are done in this manner. Many are not taken in this much. You will get a nice smooth edge line if you're taking the seams in less than the 3+ inches I have taken in on each side! I have also decided to add the steps necessary to alter the princess seams in the lining. This will come at a later date. The biggest thing to remember on this alteration is not to cut anything until you and the wearer are happy with the fit. Simple press open the seams and try the dress on before snipping. Now go try it out. Get yourself a form fitting gown that will flatter your shape while keeping everything in its place!
Return from Princess Seams to Home Page
|