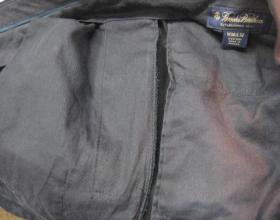
Fix the Side Seam where Your Pocket has Ripped
People put a lot of stress on the side seam of their pants when they constantly take their hands in and out of their pockets. The seam will often rip at the bottom edge of the pocket. Take the extra steps needed to repair this tear correctly. It's not that difficult and the results are fantastic.
|
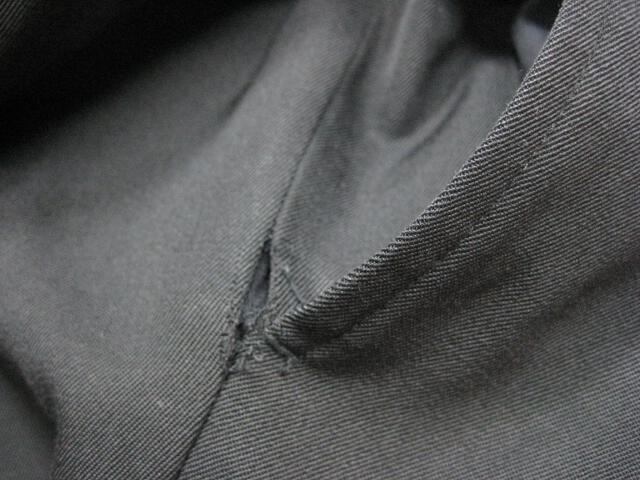
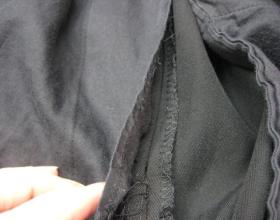
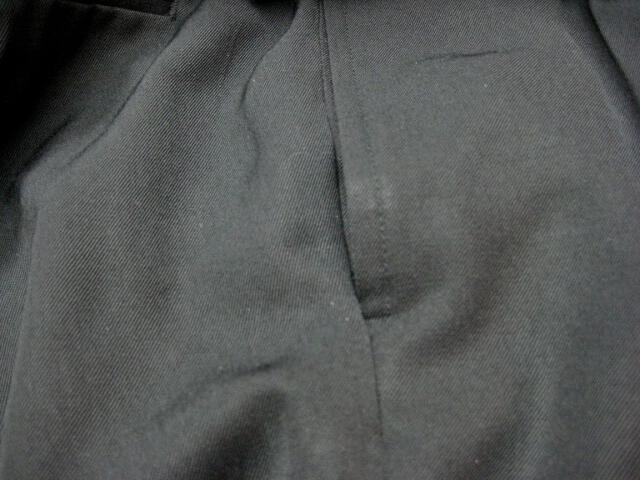
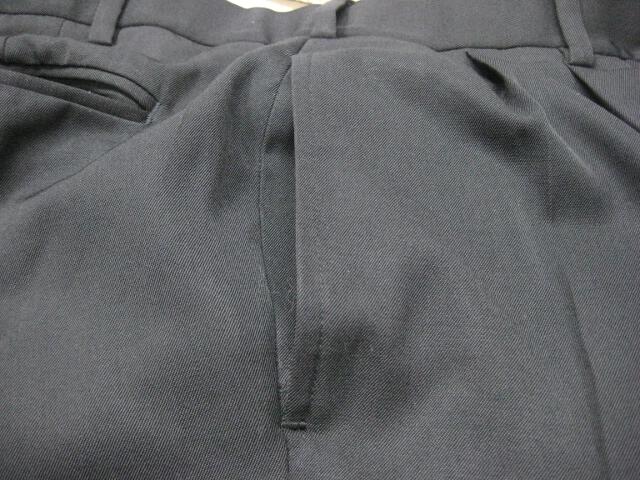
You can see the seam splitting here at the base of the side pocket. Since there is a bar tack there, the whole seam needs to be taken apart and resewn. |
|
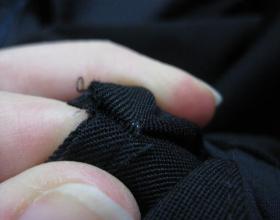
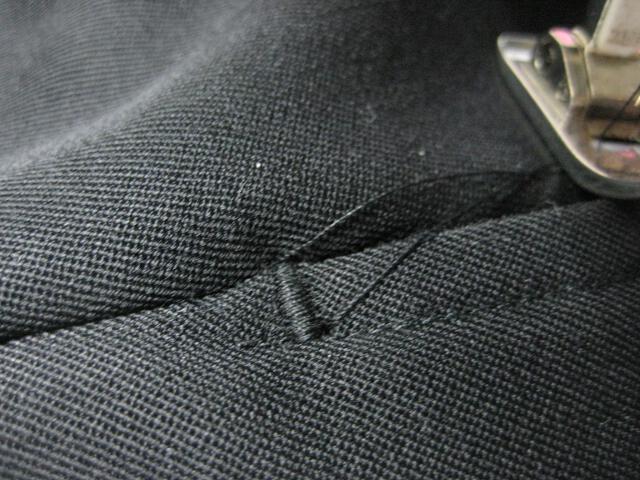
The first thing that needs to be done is to remove the bar tack. If you spread the layers apart, you can see the zigzag stitching better. |

|
It is safer if you rip this stitching starting on the wrong side of the pants. The stitches are tiny and you don't want to nick the right side of the pants. |
|
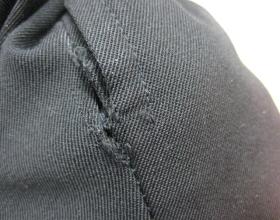
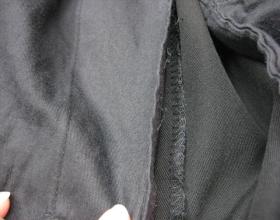
Here is a close up of the area after the bar tack has been removed. |
|
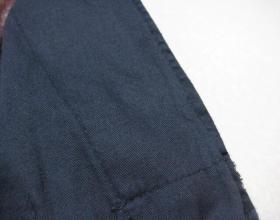
Now to the inside of the pants. The pocketing is stitched to one side of the seam allowance that has previously been pressed open. We need to release that in order to get to that side seam. |
|
Remove the stitches that attach the pocketing to the seam allowance. Just remove those that are about three inches above and below the rip. |
|
The area should now look like this. Remove the pieces of thread that have been left behind. |
|
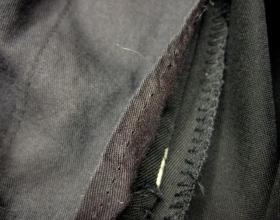
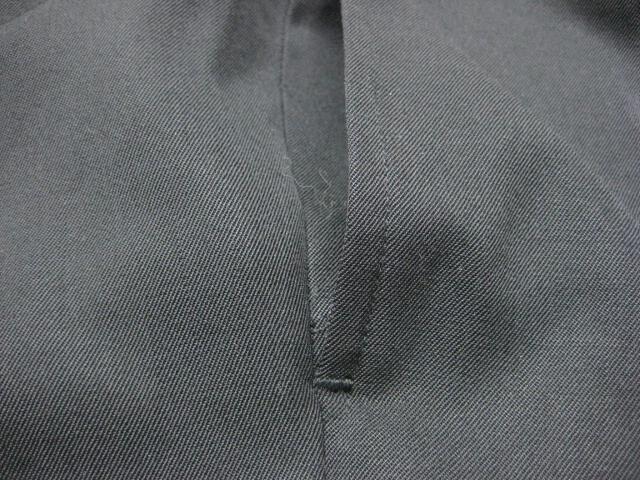
Here is a close up of how the seam looks now. Note the rip in the seam is visible, so you will know just where to repair the stitching. |

|
|
|
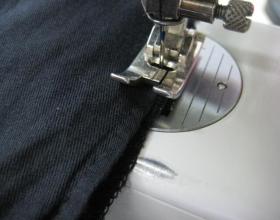
Stretch the edge of the pocketing over to the far edge of the opened seam allowance. Stitch it back into place, lining up the edges. |
|
|
|
Here you see a closer view of the pocket bottom, before the bar tack has been restitched. Make sure the seam lies flat and the pocket is not 'bunchy'. Press. |
|
|
|
|
|
|
A note of caution...
Once in a while, the fabric will actually tear a hole in that spot. When
you sew the seam back together, in Step 9, you need to move your
stitching line inward a little and taper it to the original seam. It will make the pants a little snugger if you have to take them in more than ¼" or so.
Copyright 2008-2020 LearningAlterations.com