Replacing an invisible zipper can look like an impossible task. I can
assure you it is not. It is not the easiest of alterations, but once you
know the secret, it is not so tough.
What is my secret to taming this dastardly enemy? You have to buy your
replacement zipper several inches longer that the zipper you are
replacing.
Come along with me then, and explore this process.
Don't be Put Off by the Number of Steps
I want you to have all the information I can get to you, that is why I
have so many steps in my instructions. It doesn't necessarily mean that
the job is a difficult one. The more detail you have in the photos, the
better chance you have of understanding the process.
Terms I've used Here
Center Back ... It's a term we seamstresses and tailors use all the time
to designate the seam running from neckline to hem in a dress. But
here, I need to divide that seam into two parts. First, there is the
part from the neck down to the end of the zipper. The other is the part
from the end of the zipper to the hem.
For purposes here, let's call the upper part of that seam the center back opening and we'll call the bottom part the center back seam.
A Note About Pinning...
Just to be clear, here, when doing invisible zipper repair, I usually
sew without pins. I guess I have been doing this so long that it is
comfortable for me.
You can pin the zipper whenever you feel the need. You can also baste
the zipper into place. It is a matter of preference. I like having the
zipper free, in this case, though, because I can lift it slightly to
realign it if it gets off course. Your stitches absolutely have to be in
the crease of the zipper teeth, as well as the crease of the center
back seam, in order for this to truly be an invisible zipper!
|
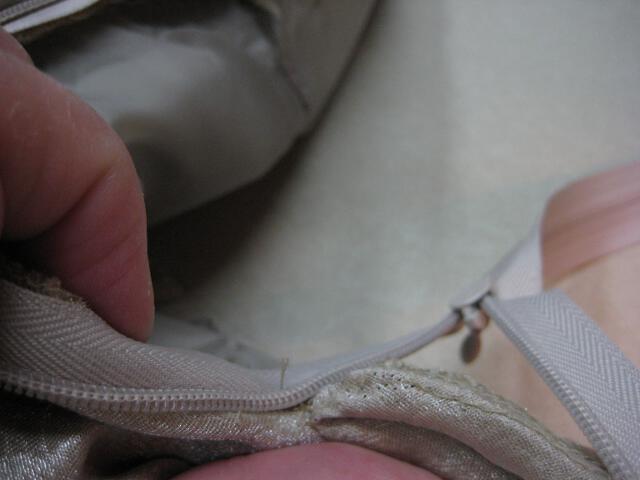
STEP ONE: OBSERVE
This zipper has teeth all the way to the neckline and the hook and eye at the top of the. Here I've begun to separate the dress fabric, zipper tape and lining.
|
|
STEP TWO
Remove the center back stitches. Check out how the invisible zipper tape has been encased into the neckline. Flip it inside out and back again to see the original construction.
|
|
STEP THREE
Remove the hook and eye. Undo the stitching along neck edge to remove the invisible zipper. Push the facing and lining out of the way for now. I work on the dress's left back first.
|
|
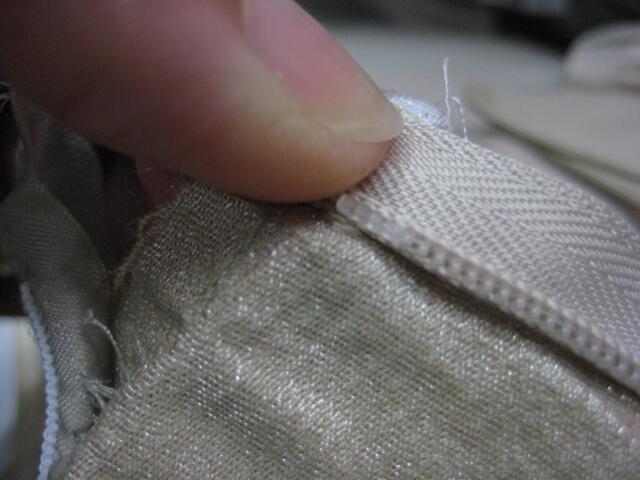
STEP FOUR
Align the new zipper with the dress center back, teeth even with fold. Keep seam allowance folded to the inside. Pin or pinch all layers with your left hand. With your right hand, grab only the seam allowance and the zipper tape.
|
|
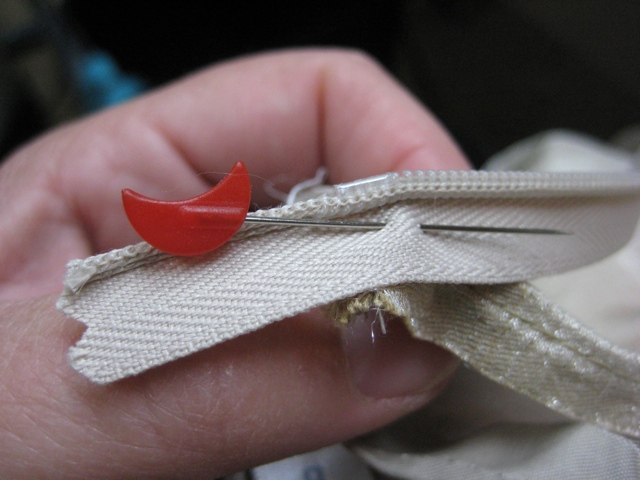
STEP FIVE
Release your left hand. Your right hand remains, holding the zipper and seam allowance. Lay it flat to look like this. Zipper teeth should rest along the foldline, top teeth are slightly below the neckline seam. Pin in place if you like.
|
|
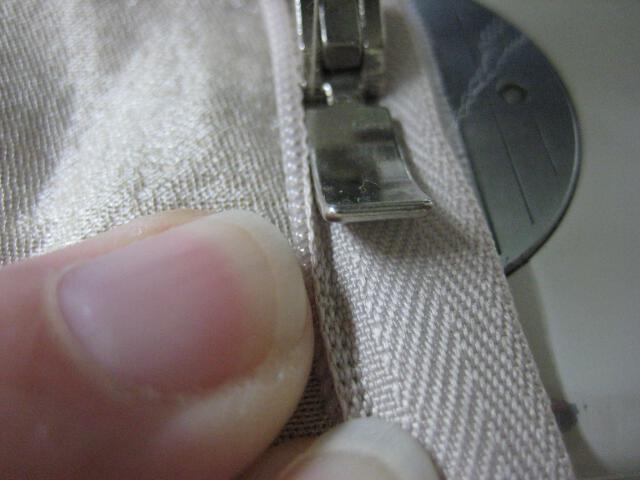
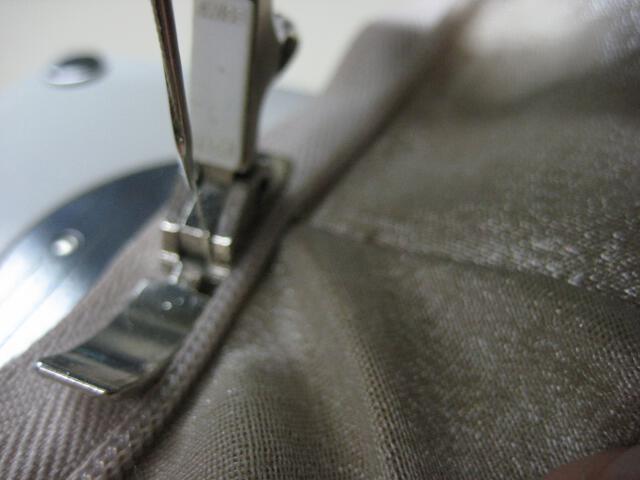
STEP SIX
Insert needle at neck edge, spreading the teeth toward the left as you sew. If possible, put the needle in left position landing in the crease between zipper tape and teeth. The zipper crease is on top of the center back crease of the dress.
|
|
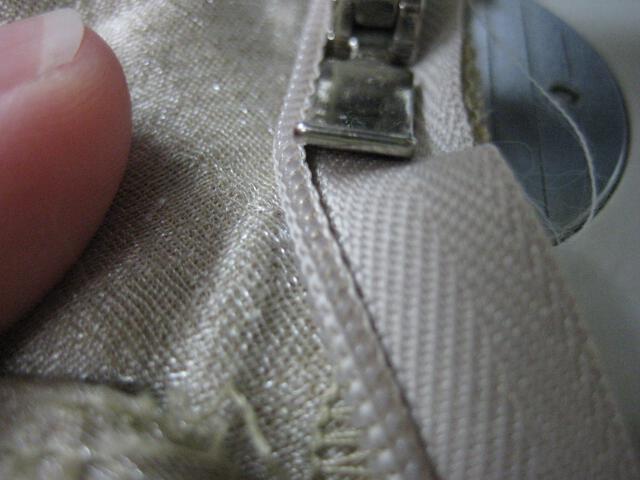
STEP SEVEN
Keep sewing in the crease until you get to the center back seam. Then your line of stitching will go right of the seam. Sewing the tape to the seam allowance for an additional inch or so.
|
|
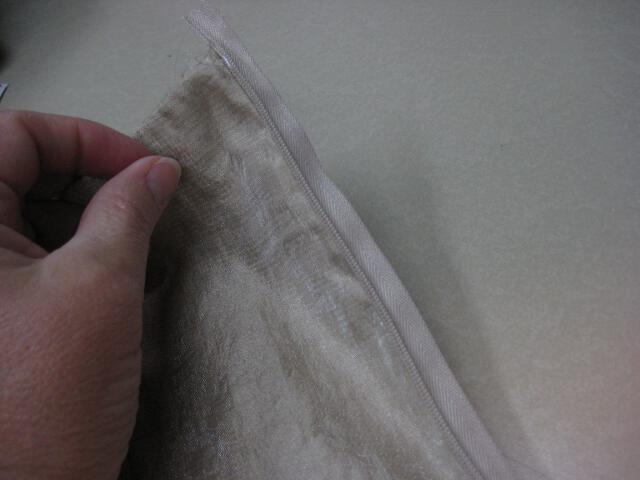
STEP EIGHT
This is what the left side of the invisible zipper looks like. If your stitches did not land in the fabric center back fold, you'll be able to tell it here. If the zipper tape shows on the outside, you have to rip and redo.
|
|
STEP NINE
This photo shows the inside of the dress, looking downward from the neckline. See how the zipper extends past the center back seam? The stitching is right up to the beginning of that seam.
|

|
STEP TEN
Here is a closer view. The "invisible zipper teeth fold" and the "center back opening fold" have been married together by your line of stitching, which goes all the way to the start of the center back seam.
|
|
STEP ELEVEN
Start by zipping the zipper, then match it to the right side of the dress (not shown). Then pin it into place. Unzip it all the way.It is critical to get this placement right, to avoid the bubble at the bottom of the zipper.
|
|
STEP TWELVE
Move needle to the right position. Begin at neckline again, and sew the right side of the zipper to the seam allowance. Be sure to stitch through the fold of the zipper and the fold of the seam allowance. Step 6 has a close up view.
|
|
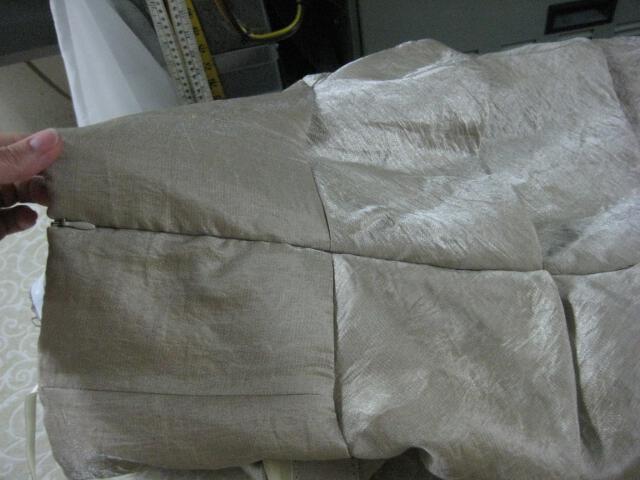
STEP THIRTEEN
The second side is sewn. Again we are looking from the neckline toward the hemline, the outside of the dress is closest to the bottom of your screen. See how much extra zipper there is?
|
|
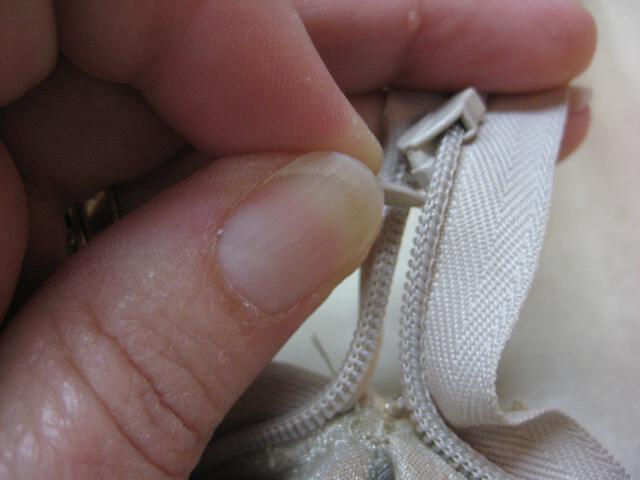
STEP FOURTEEN
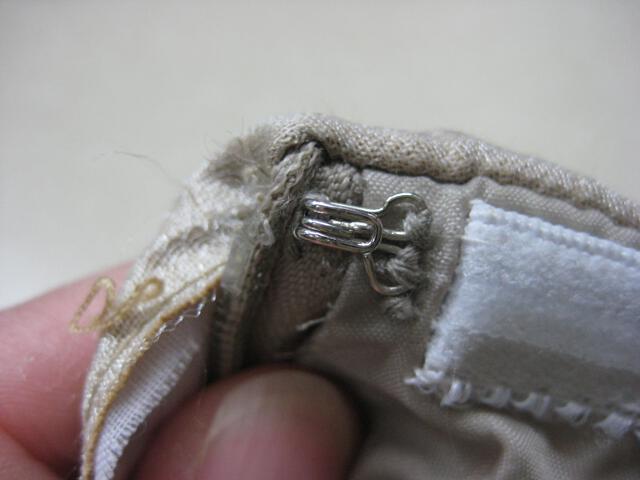
Now comes the fun part! Keeping the dress in the same position as in Step 13, pull the zipper tab toward the inside of the zipper. Begin zipping it up.
|
|
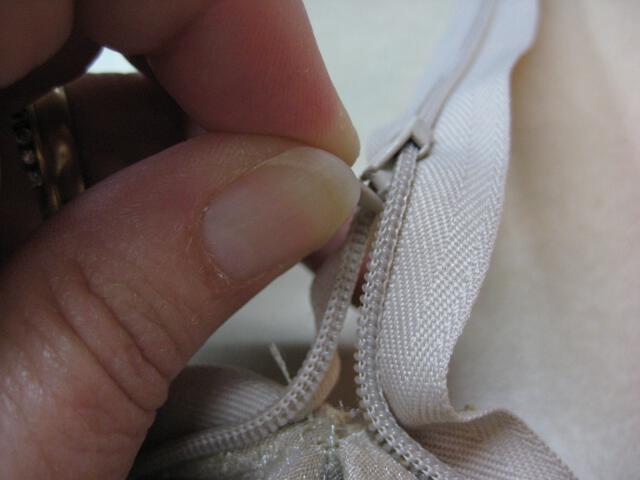
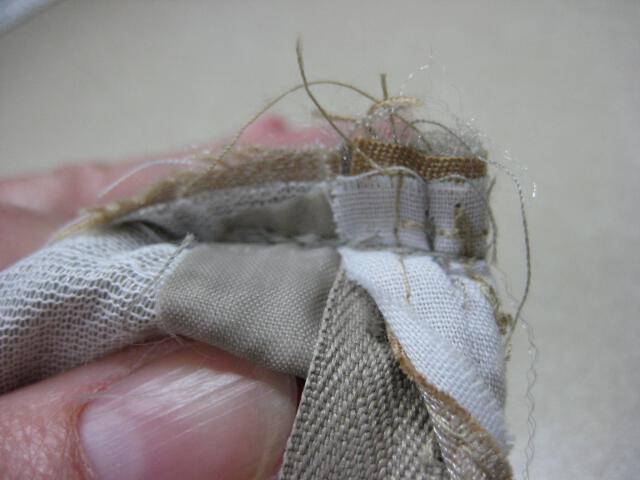
STEP FIFTEEN
Keep pulling the tab through this little "window". Once you get passed the window, the zipper will magically be on the right side of the dress.
|
|
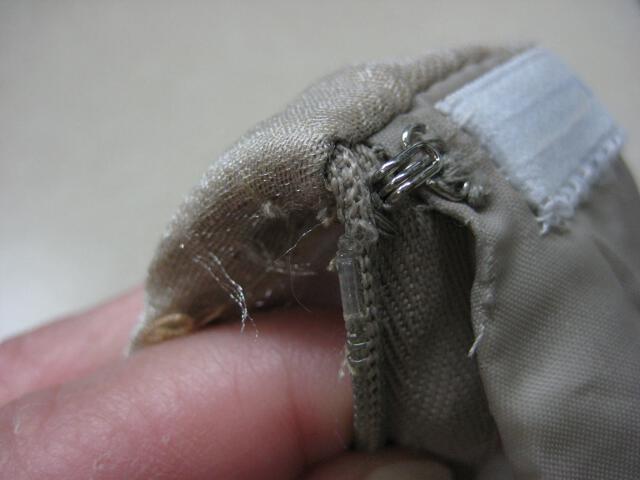
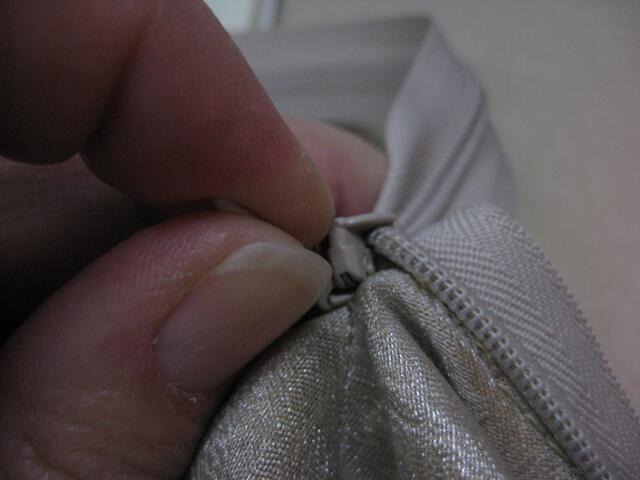
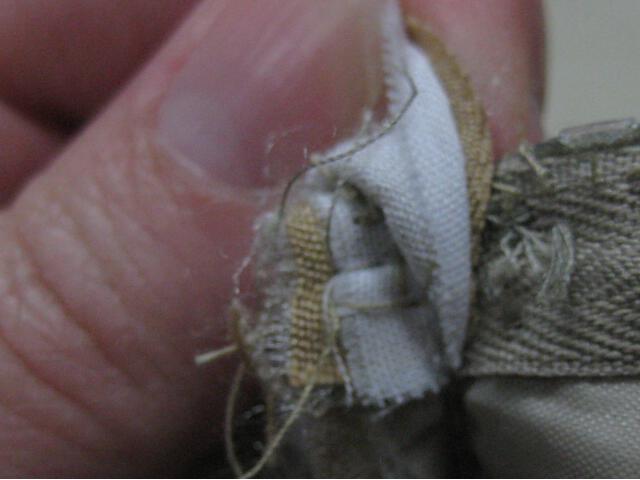
STEP SIXTEEN
The window closes, and you continue to zip the dress up to the neckline. This photo shows that "window" closing and the zipper tab coming onto the right side of the dress.
|
|
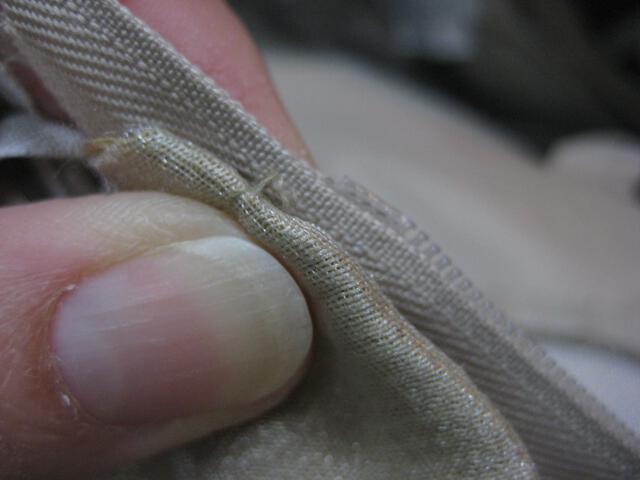
STEP SEVENTEEN
The zipper is now on the right side of the dress and the hole at the bottom is gone. Zip it up to the neckline and evaluate how you did.
|
|
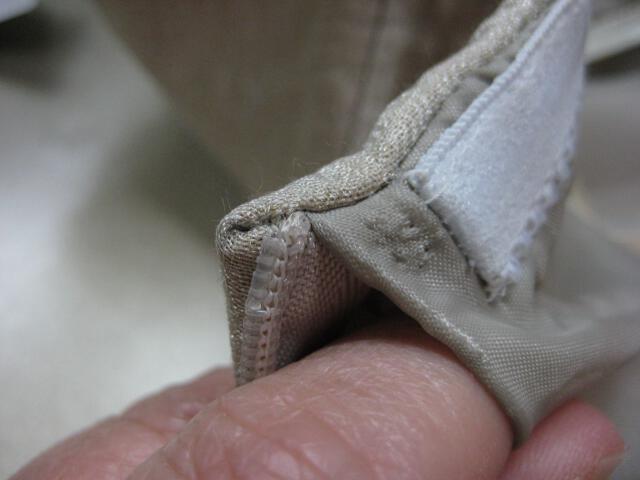
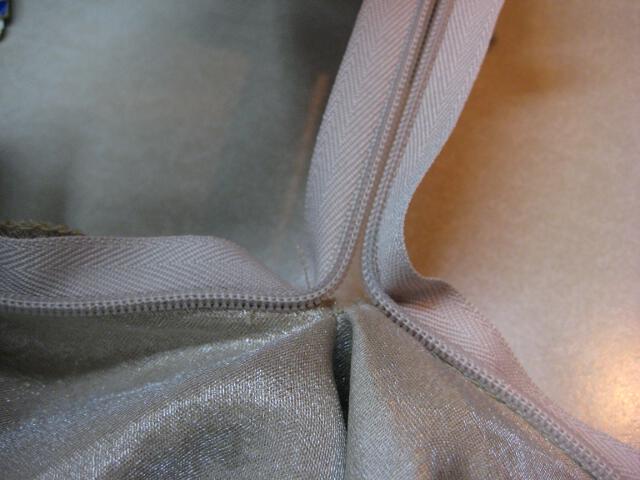
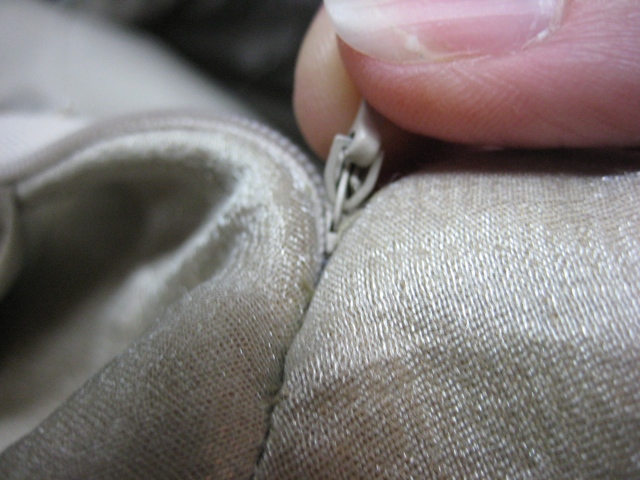
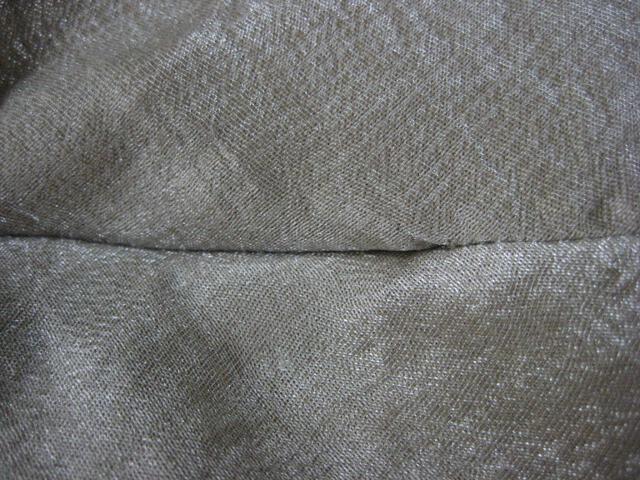
STEP EIGHTEEN
Here is the area where the zipper meets the center back seam. If you have done it right, there will be no bubble here. If there is one, then you have not aligned the second side properly and you will have to redo it.
|
|
STEP NINETEEN
The neckline finish depends a lot on your dress's original finish. Here I have folded the facing over the raw edges of the zipper and neckline. I will run stitching along the neckline until it meets the exiting stitches.
|
|
STEP TWENTY
After stitching this neckline edge, I need to flip the facing right side out to finish off the inside. You may also need to "stitch in the ditch" here, or hand tack the facing down. Refer to your "before" pictures.
|
|
STEP TWENTY ONE
Here is my finished product. On this dress I also had to pay attention that the horizontal seams matched. Basting the zipper tape in STEP 11 sometimes helps.
|
Practice this technique a few times and I'll bet you won't be afraid to tackle an invisible zipper. I't so fun when that tab comes out of the window and everything falls into place!