Shortening Pants with Top Stitched Hems in 8 Easy Steps
Many pants for men and for women have top stitched hems these days. Most
of the khaki pants and shorts have them, as well as many popular jean
styles. The following directions are for pants that need to be shortened
a lot. You do not need to remove any stitching because they are so
long.
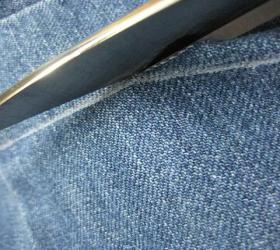
If the pants you are shortening have stitching that needs
to be removed, simply use a seam ripper or a razor blade to take out the
existing hem. Press the pants flat and proceed with Step One.
A Note About Terms I've Used ...
There are not too many technical words associated with learning how to
shorten top stitched hems. It may help you to know these terms,
though...
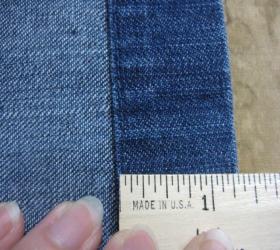
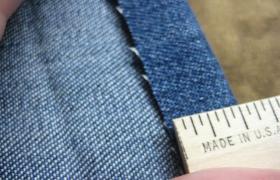
Top Stitch is the stitching
that is sewn on the RIGHT side of the garment, able to be seen on the
outside and inside. It can be hand stitching, but is most often done by
machine. It is usually both decorative and functional. It is often seen
where hems are secured or pockets are attached. Contrast thread is
sometimes used for decoration.
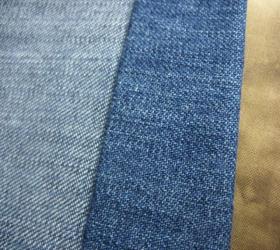
Turnunder In
Steps 3,6,7 and 8 I use this term. It is my way of describing the raw
edge that you will "turn under" and hide, so that your hem allowance
doesn't fray.
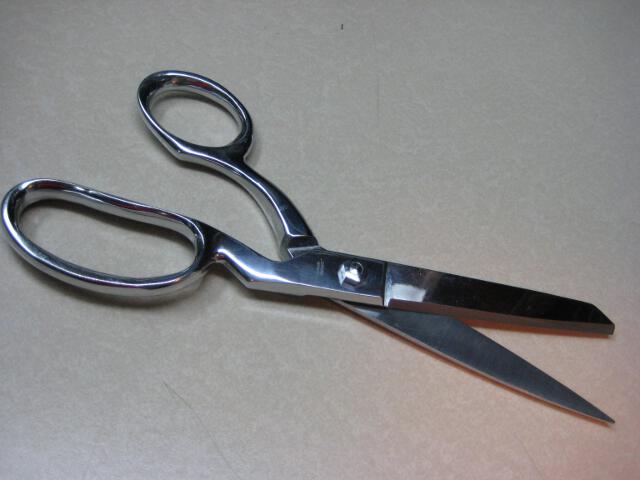
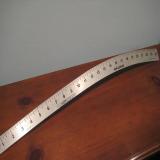
Here's What You'll Need ...
|
|
|
|
|
|
|
Chart One: Working From the Inside of the Pants
|
|
|
|
|
|
|
|
|
|
|
|
|
|
|
|
Chart Two: Working from the Right Side
Some people like to work from the right side when putting in top stitched hems. It's a matter of personal preference. Try substituting the following steps if you want to work from the right side.
Or, you may want to
just try step EIGHT-A, especially if your machine is making pretty stitches on the needle side, but not so much on the bobbin side.
|
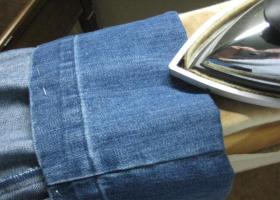
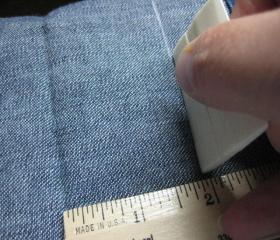
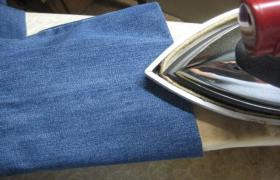
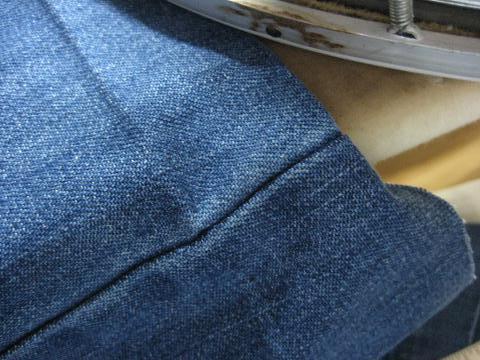
Keeping the pants right side out. press the new hemline into place. Make sure your crease is firm. |
|
|
|
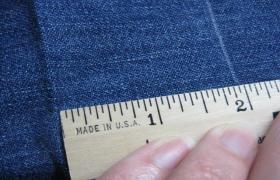
Fold under the raw edges at about ½". You can sometimes "eyeball" this. Press under. |
|
|
In Closing...
Have you noticed what's missing here? Pins! These pants are extra long, so all my markings were done with the chalk and the iron. If you are new to this, feel free to pin at whichever steps you like.
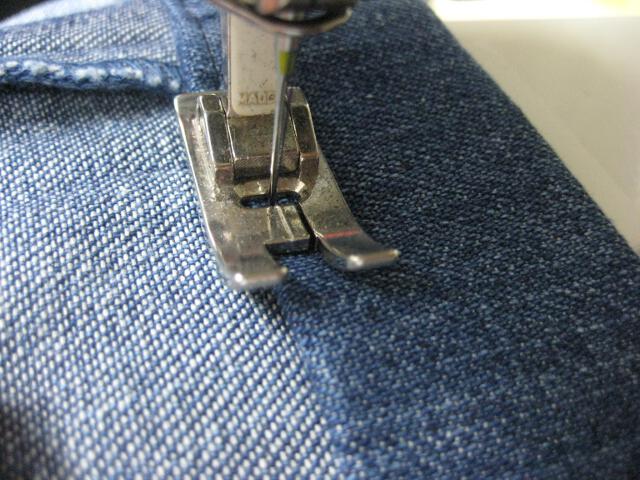
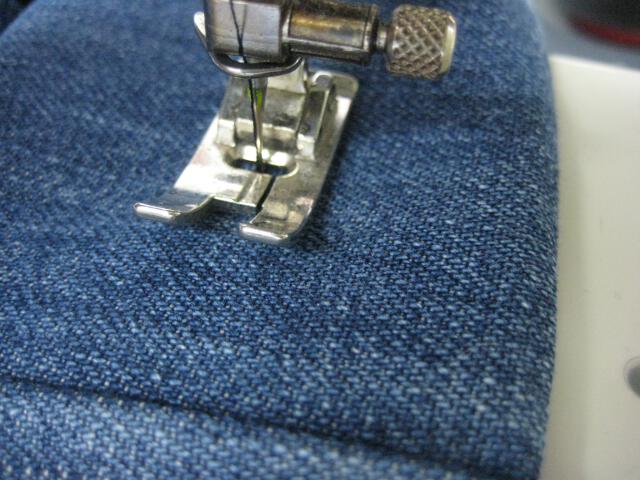
Secondly, topstitching on the right side of the pants is a bit advanced. When you are just starting out, stitch from the under side of the pants, then turn them right side out. Press again and the look of your stitches will improve. If those bobbin stitches are wiggily or uneven, then your pants will look better if you do STEP Eight-A. You can add pins or a chalk line to help with your accuracy.
Copyright 2008-2020 LearningAlterations.com