Techniques used in sewing hems vary, but some of the things you'll learn here are similar to those you use to
hem jeans.
As you improve your skills in sewing, hems will be something you can alter frequently and with little hassle.
|
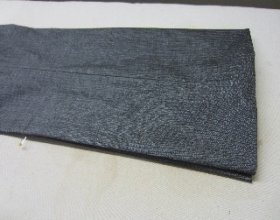
STEP ONE: OBSERVE
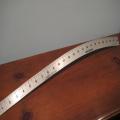
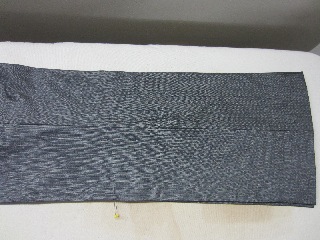
These pants have been marked on the client. I pinned them on her, having the excess hem turned under. Not seen here is the 12
Inch mark that keeps the legs even.
|
|
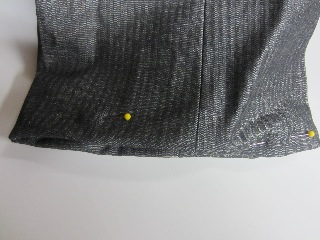
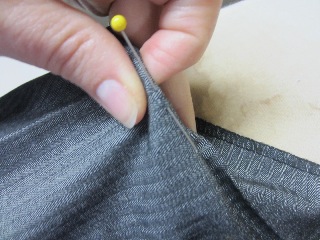
STEP TWO
Here I am transferring the pins to the edge of the new hemline. Just insert a pin in the outside layer of the fabric, piercing that new folded edge.
|
|
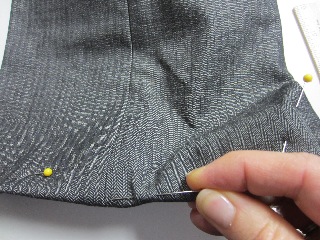
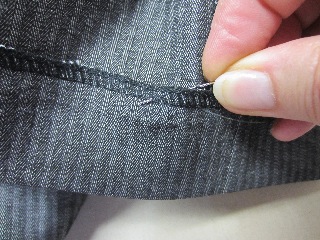
STEP THREE
With the pants hanging in their original state, look at the inside and find the blind hem stitches. Find the part of the hem where those stitches overlap.
|
|
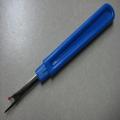
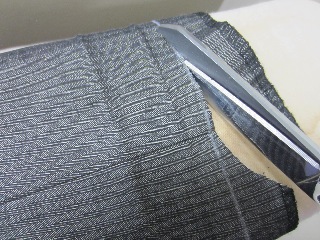
STEP FOUR
Begin ripping this hem area with your seam ripper. You only need to rip out a couple of inches, mainly where the blind hem stitches overlap each other.
|
|
STEP FIVE
Once you have done this your pants should look something like this. You'll begin to see separation between the hem allowance and the pants.
|
|
STEP SIX
Begin picking at some of the loose threads. You should be able to find the end that will release the entire hem. Then keep pulling it until the hem is all the way out.
|
|
STEP SEVEN
You pants should now look like this. The original hem allowance is no longer attached to the pants leg. Now it is time to start shortening the length.
|
|
STEP EIGHT
First we are going to fold the new hem on that line of pins we marked in Step Two. Continue folding until you have gone all the way around the pants leg.
|
|
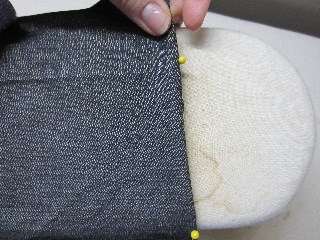
STEP NINE
Here is one pants leg on my sleeve board. The new hem is folded up and I have pinned it into place. Sewing hems that look professional require that you do this step carefully.
|
|
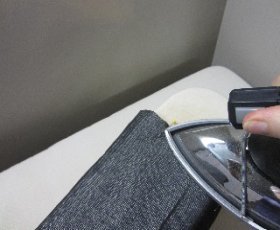
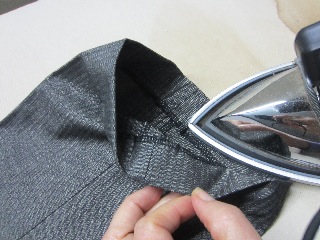
STEP TEN
Now press this firmly into place. It is the new way to measure the length of the pants. Use lots of steam if your fabric allows it and use a bit of pressure with your iron as well.
|
|
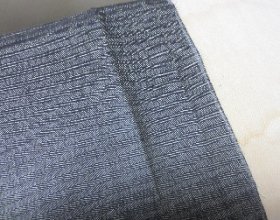
STEP ELEVEN
Now unfold the pressed up hem. My pants are on a sleeve board here. You can see the crease from the original hem, as well as the crease that we just pressed in, for the new hem.
|
|
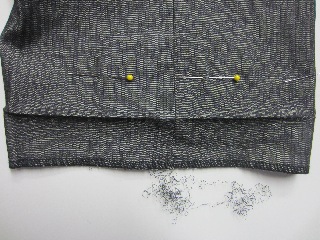
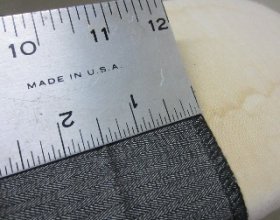
STEP TWELVE
Press the new hem up on both legs. Make sure the legs are even by comparing the two twelve inch marks. You may have chalk marks, or maybe pins, as I show here.
|
|
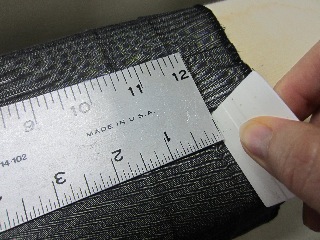
STEP THIRTEEN
Observe the width of the existing hem. We want to put the pants back together the same way we found them. My hem is 1½"wide.
|
|
STEP FOURTEEN
Measuring from the new crease line, make a mark 1 1/2" to the right of the hemline. That will be your new cutting line. Make your mark all the way around the pants leg.
|
|
STEP FIFTEEN
This is what your pants should look like at this point. Your new hem will be the foldline on the left. The white chalk line is your cutting line.
|
|
STEP SIXTEEN
Now it's time to cut on the chalk line. Go all the way around the pants. Again, here, mine are on a sleeve board to make things easier and more accurate.
|
|
STEP SEVENTEEN
This is the leg after the cutting is finished. Sewing hems is actually more prep work that actual sewing, it seems. |
|
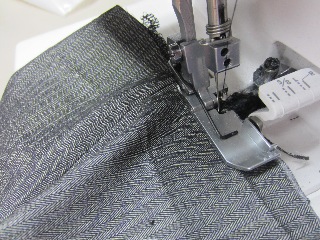
STEP EIGHTEEN
Now we are off to the serger. Serge the cut edge in order to keep it from fraying. This also gives the hem a professional finish that looks like the factory hem.
|
|
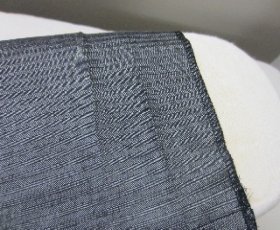
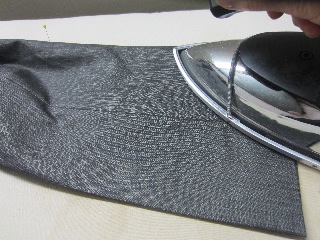
STEP NINETEEN
Back at the ironing board, we want to get these serging stitches flat. Press well. This also adds to the professional look of your alteration.
|
|
STEP TWENTY
Now press the pants leg flat. Feel underneath to make sure there are no puckers in the hem allowance. We are now ready for sewing the hems in place.
|
|
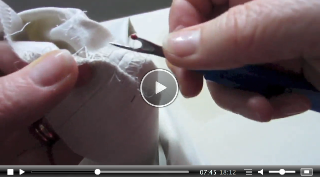
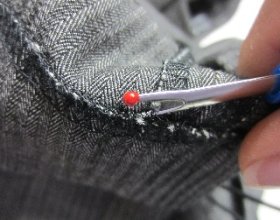
STEP TWENTY ONE
Now it's time for sewing. Hems can be put in by blind stitch machine, or by hand stitching, as you see here. Take small "bites" with your needle, so your thread remains invisible from the front.
|
|
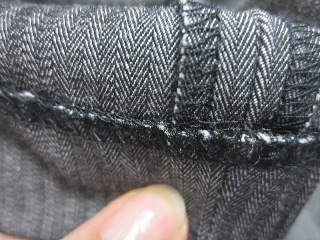
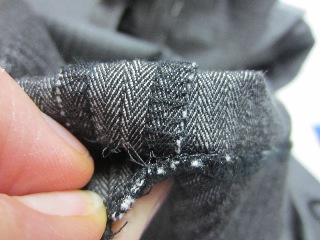
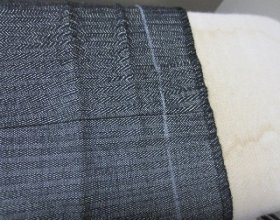
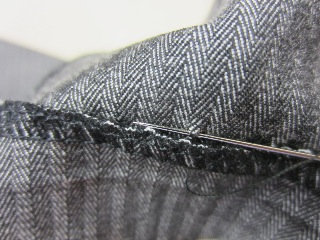
STEP TWENTY TWO
Here is a close up of the stitches. On a herringbone pattern like this, they get lost in the weave. If your pants are a solid color, you need to take extra care to hide them well.
|
|
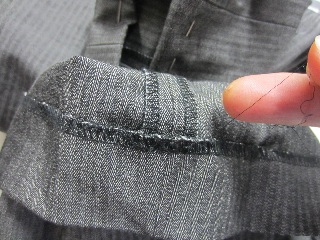
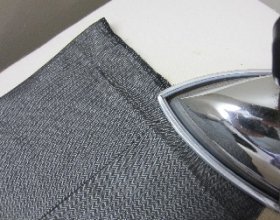
STEP TWENTY THREE
Now press the inside to the leg. Then press the outside. Repress that center crease, front and back, it the pants have one.
|
|
STEP TWENTY FOUR
Now your pants are finished. Press the rest of the legs and the waist area. Attention to detail always shows your client a high quality job well done!
|
So, sewing hems on dress pants can be easy when you pay attention to the
details! The main things to focus on are correct measurements, tiny
hand stitches and good pressing.