Replace Zipper in Your Favorite Jeans
To replace a zipper in a pair of jeans looks very challenging. If you
take it step by step, though, you will get the hang of it. It will
definitely take a little practice. The directions are involved and since
the steps are numerous, I have divided them into four separate charts:
- Ripping Out the Old Zipper
- Installing New Zipper Left
- Installing New Zipper Right
- Topstitching Jeans
A Note About Terms I've Used ...
I've made some assumptions in labeling the different parts of the zipper area.
First
of all, the flap that is between the zipper tape and the front fabric
of the jeans is the fly extension. I assume the pants you are sewing
have the fly extension located on the left side, as you're wearing them.
We'll call that the top zipper half. It has the buttonhole in it.
The other part will then be called the bottom zipper half. It is on the right side. It has the button sewn at the waistband. One last note. If your zipper size is not available, buy the zipper longer than you need. I'll show you how to make it fit!
Here's What You'll Need ...
|
|
|
|
|
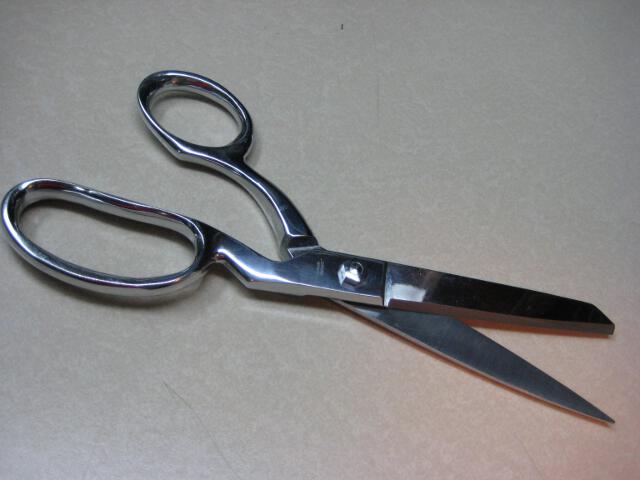
Scissors
|
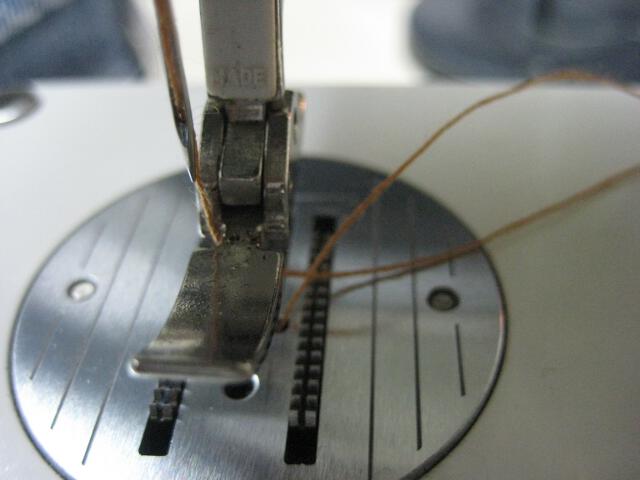
Zipper Foot
|
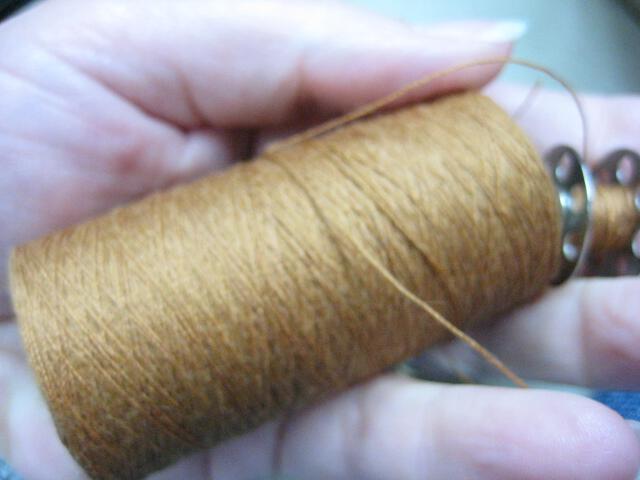
Jean Thread
|
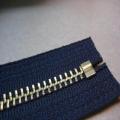
Heavy Duty Jean Zipper
|
Chart One: Rip Out the Broken Zipper
|
STEP ONE: OBSERVE
Observe the zipper and how it has been inserted. Take some digital pictures so you have something to refer back to. Begin by removing the stitches that attach the waistband to the pants.
|

|
STEP TWO
Rip out about 3"of stitching where the waistband meets the pants. You'll remove all the stitches along that fly extension that holds the zipper in place.
|
|
STEP THREE
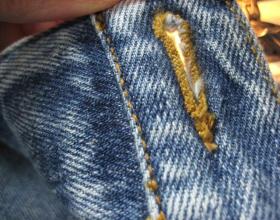
Rip out the remaining topstitching that connects that fly extension to the jeans front. If you turn the jeans right side out, you'll see it is the double row of topstitching, including two bar tacks.
|
|
STEP FOUR
Use caution around the bar tacks that you have to remove. Turn the jeans inside out and remove the stitches from the inside if you need to. Then pick the loose threads from the front.
|
|
STEP FIVE
The inside of the jeans should now look like this. The topstitching is gone and the waistband is separated from the pants front
|
|
STEP SIX
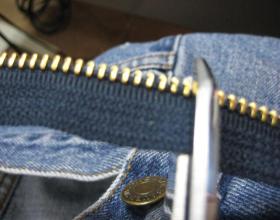
Remove the stitches where the bottom zipper is attached to the jeans. There is only one line of stitching here, unless the under side is serged. If so, remove the serging too. The zipper is now free.
|
Chart Two: Replace Zipper Right
|
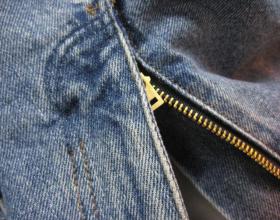
STEP SEVEN
Line up the base of the zipper with the bottom of the opening. You may have to cut part of the zipper tape, as I have here. Pin in place through top, zipper and extension that is underneath.
|
|
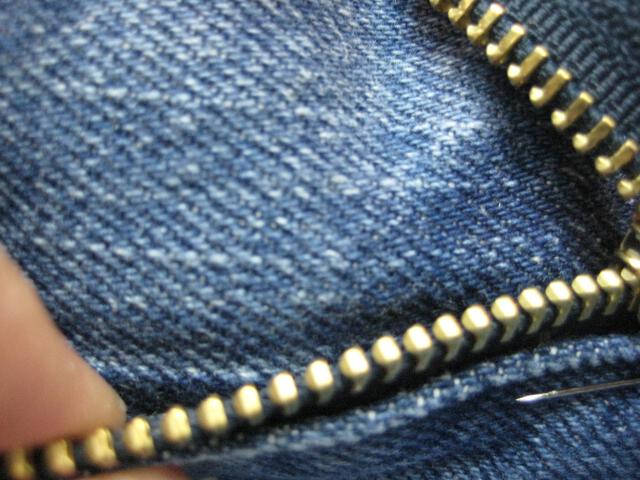
STEP EIGHT:
Sometimes you can see, on the extension,the ridges left by the previous zipper. Try to line up the teeth of the new zipper with these indentations.
|
|
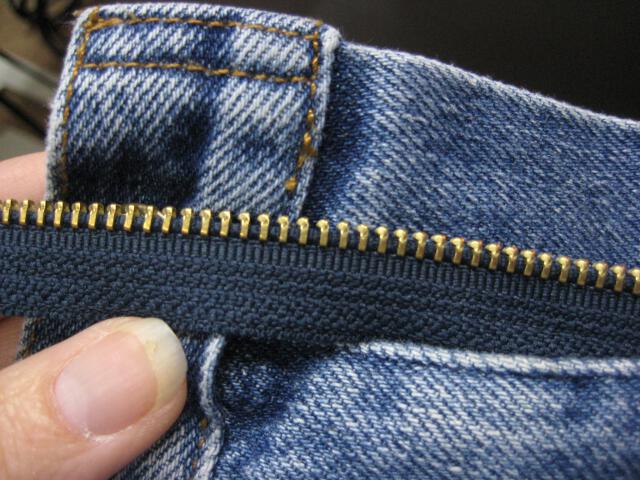
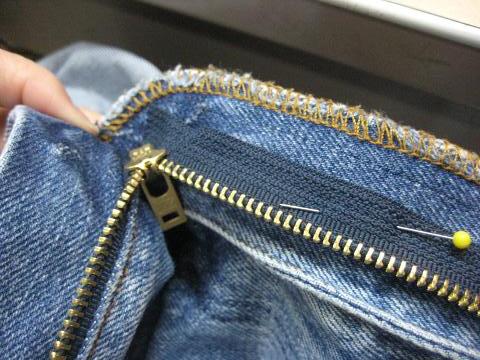
STEP NINE:
Align zipper from beginning of opening to waistband. It is sandwiched between the extension on the bottom and the jean front on the top. Estimate where you will have to cut, if necessary.
|
|
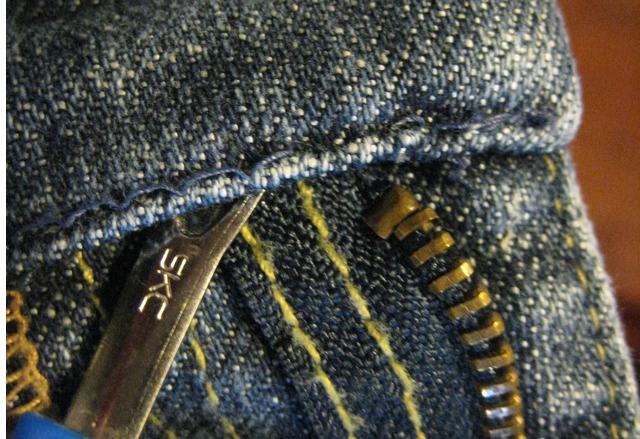
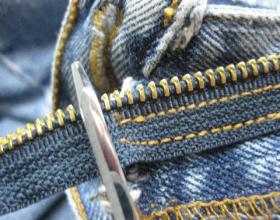
STEP TEN:
Cut the zipper so that a little bit of it will slip under the waistband opening. Use regular scissors, but be careful to cut between the teeth.
|
|
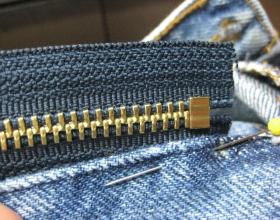
STEP ELEVEN:
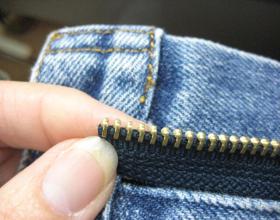
Here is a close up of the newly shortened zipper. I've left about 3/4" extra to be hidden in the waistband.
|
|
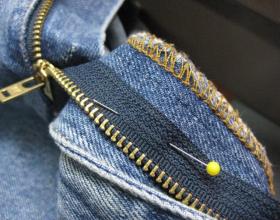
STEP TWELVE:
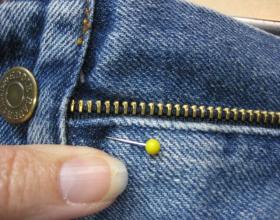
Stick the zipper tape between the waistband layers. Adjust the zipper so only the teeth are peeking out from the pants front. Check that the extension is flat and smooth. Pin.
|
|
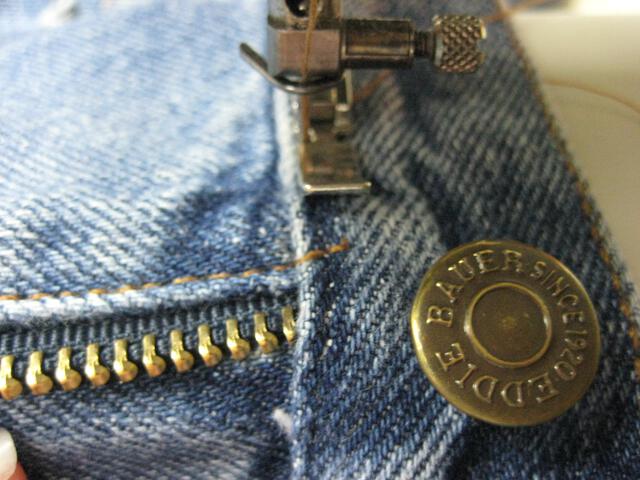
STEP THIRTEEN:
Since the machine is going from waistband to crotch, be certain that the area is lying flat. Otherwise, you'll get a bubble at the end. Use as many pins as necessary to secure.
|

|
STEP FOURTEEN:
Here is what it looks like on the inside of the jeans. The stitching on the extension may look a little off line, but it is fine, as long as the right side looks good.
|
|
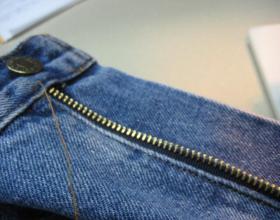
STEP FIFTEEN:
Here is the right side after stitching
|
|
STEP SIXTEEN:
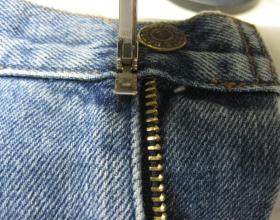
With a zipper foot, put your needle in the left position and stitch in the previous needle holes of the waist band. Carefully sew over the teeth. You may have to walk your machine over this area using the hand wheel.
|
|
STEP SEVENTEEN:
Here is the finished right side. Clip the threads close to the seam.
|
Chart Three: Replace Zipper Left
|
STEP EIGHTEEN:
Begin the left side by buttoning or snapping the jeans closed. Align the right (top) and left (bottom) sides and zip the zipper. Waistband is open and facing you, legs are pointed away.
|
|
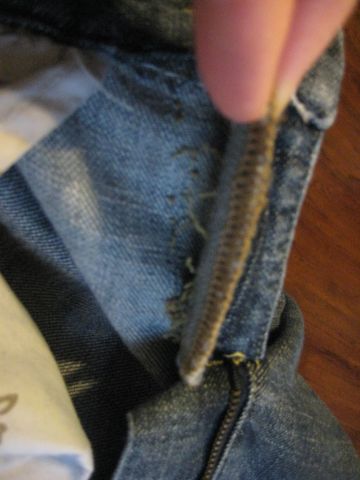
STEP NINETEEN:
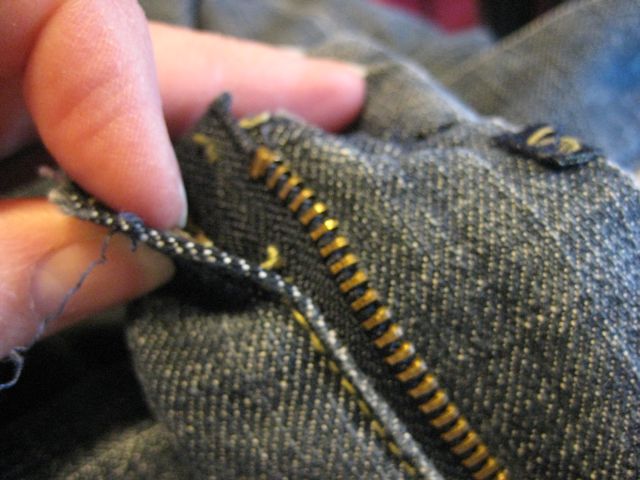
Reach your left hand inside the pants. Feel for the extension. Grasp it and the left zipper tape between your thumb and forefinger.
|

|
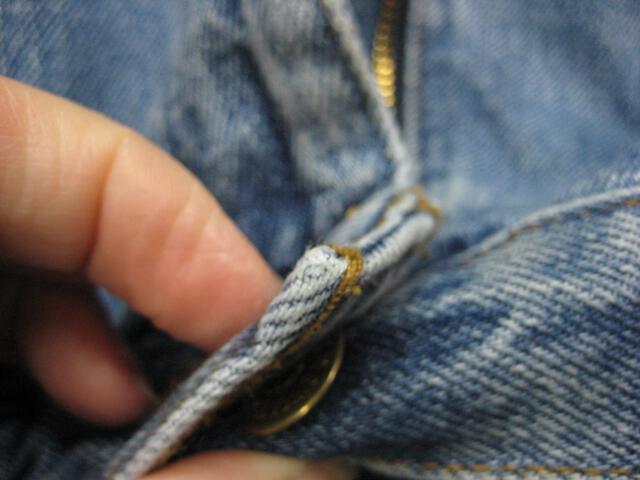
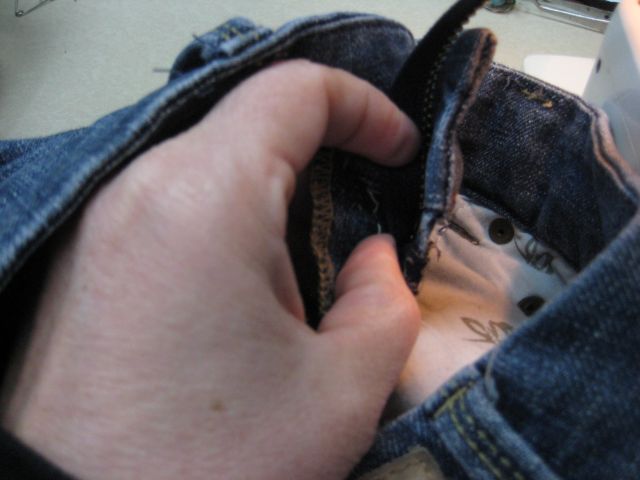
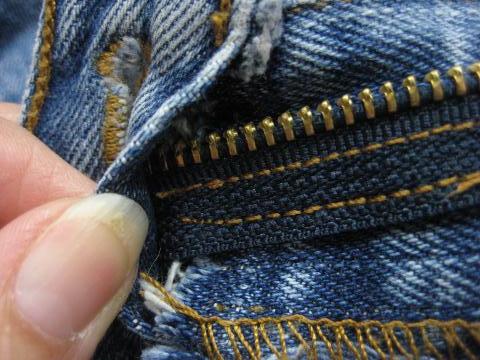
STEP TWENTY:
My left hand is inside the jeans. See the indentation where my thumb is between the jean front and the extension? I am holding the left zipper tape against the extension, not touching the outside of the jeans.
|
|
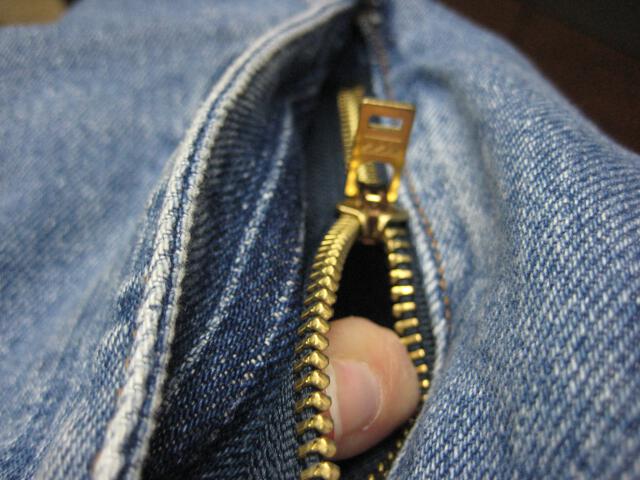
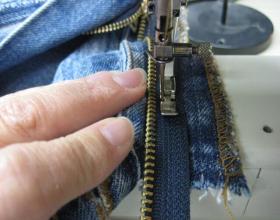
STEP TWENTY ONE:
The zipper is partially open here, to show the placement of my index finger. My thumb is in the gap between the extension and the front outside part of the jeans.
|
|
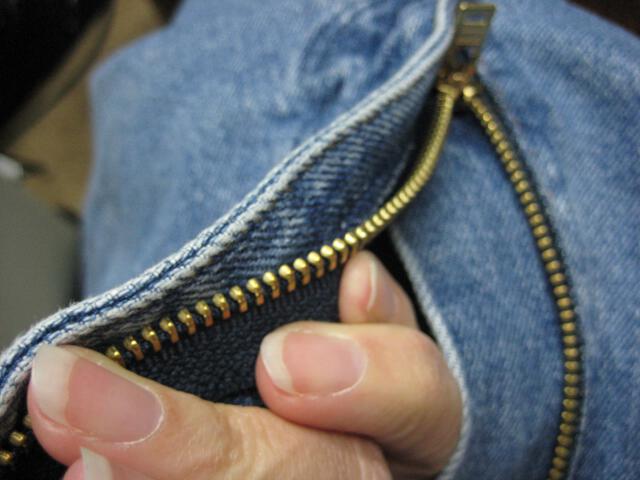
STEP TWENTY TWO:
Here are the pants with the zipper opened. My left thumb is still hidden in the gap, my index finger is in the middle of your screen. The rest of my fingers are pointing toward the waistband.
|
|
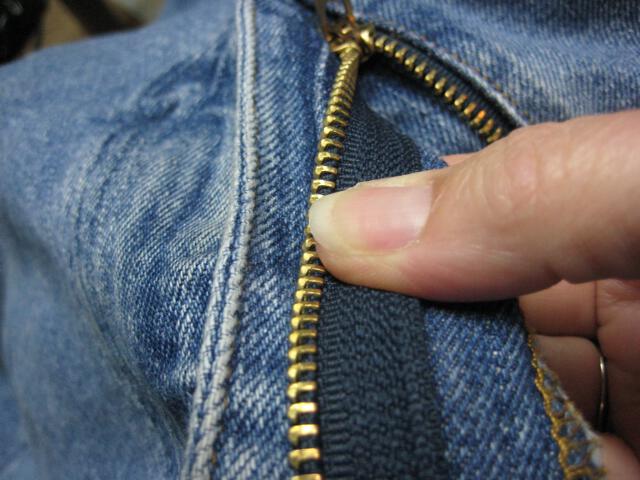
STEP TWENTY THREE:
Now take what you have been holding in your left hand and grab it with your right. This puts your right thumb on top of the zipper and the rest of your hand under the extension.
|
|
STEP TWENTY FOUR:
Stick a pin where your thumb and forefinger are, to hold the zipper in place. Now you are free to adjust. You can move the zipper slightly left or right only. Otherwise you'll get a bubble at the zipper bottom.
|
|
STEP TWENTY FIVE:
Here is the INSIDE of the left zipper tape. I have straightened it slightly to line up evenly with the extension.
|
|
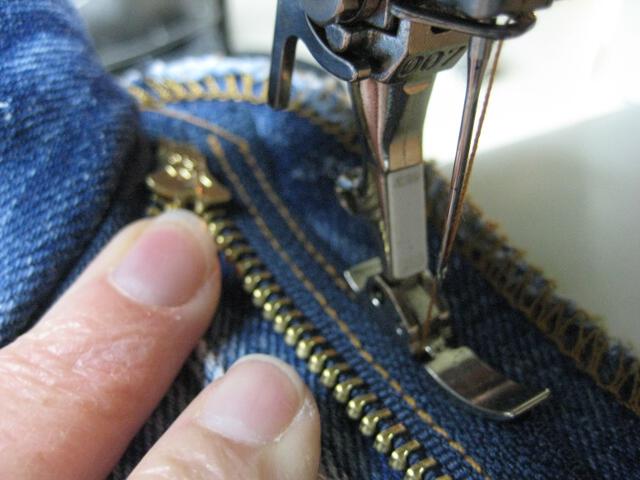
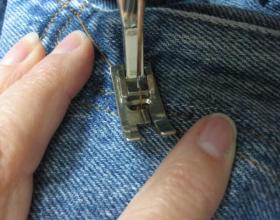
STEP TWENTY SIX:
Flatten out the extension so you can get it under your presser foot. With needle in the left position, stitch zipper tape to extension, near the zipper teeth.
|
|
STEP TWENTY SEVEN:
Sew a second row of stitches parallel to the first.
|
|
STEP TWENTY EIGHT:
Snip the excess zipper as you did in Step Ten above. Leave 3/4" - 1" extra to go in between the waistband layers.
|
|
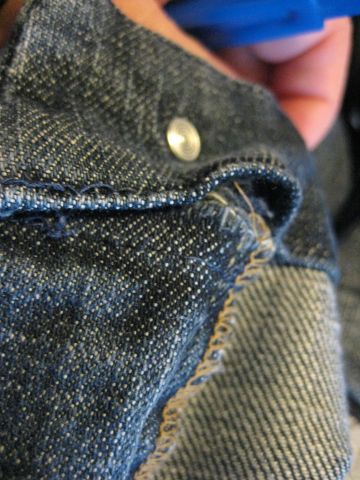
STEP TWENTY NINE:
Tuck the excess up under the waistband. You may need to trim it little if it runs into the buttonhole.
|
Chart Four: Topstitching
|
STEP THIRTY:
Once the extension and the zipper is flat and aligned properly, you can topstitch the waistband seam. Again, be careful when your needle sews over the teeth. You may need to walk it along using your hand wheel.
|
|
STEP THIRTY ONE:
Here you see the inside ot the waistband. This shows that I had to walk my machine over that zipper tooth, making a slightly longer stitch. It is hardly noticeable.
|
|
STEP THIRTY TWO:
Here is the outside of the waistband. See how that bigger stitch doesn't really show?
|
|
STEP THIRTY THREE:
With zipper open and sewing through all thicknesses, stitch a line of topstitching parallel to the opening, ending at the waistband. Do this agian, a scant ¼" from the first line.
|

|
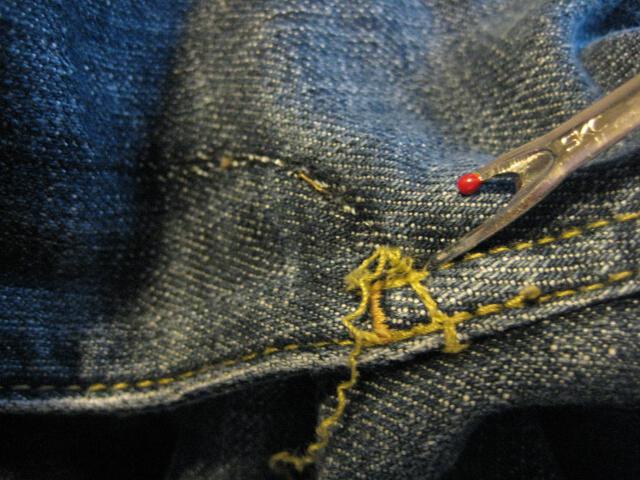
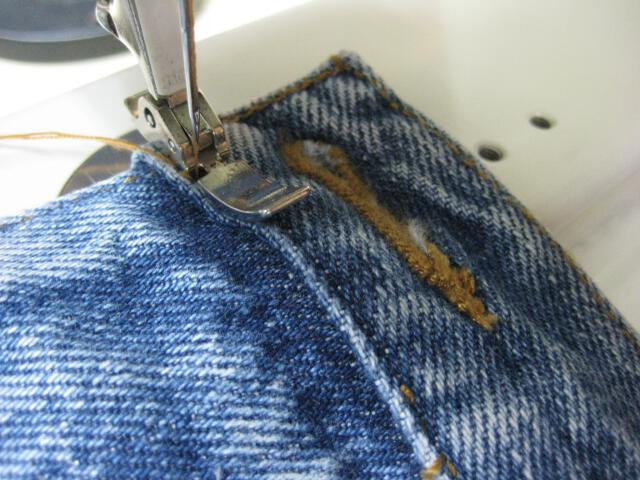
STEP THIRTY FOUR:
Close the zipper. Examine the jeans for the mark left behind when you removed the original stitches. Stitch this curve twice. Join your stitches when they reach the two straight lines. Backstitch here.
|
|
STEP THIRTY FIVE:
Now add your bar tacks. One goes at the base of the zipper opening. The other goes here, where your two lines of stitches met. Use a medium zigzag with stitches very close together.
|

|
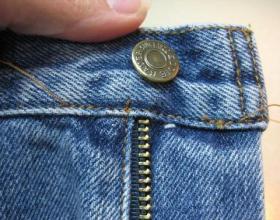
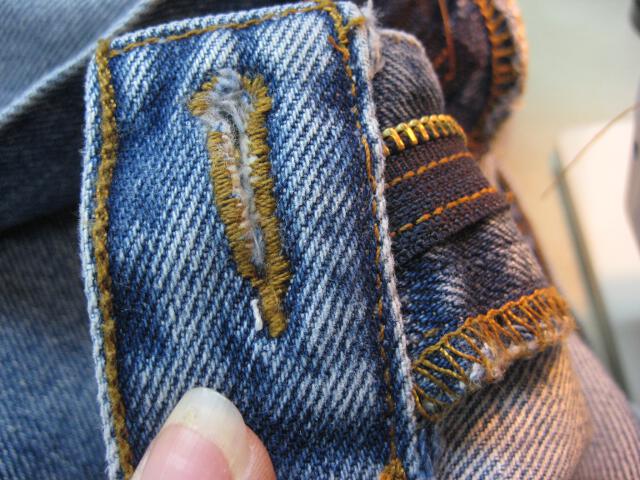
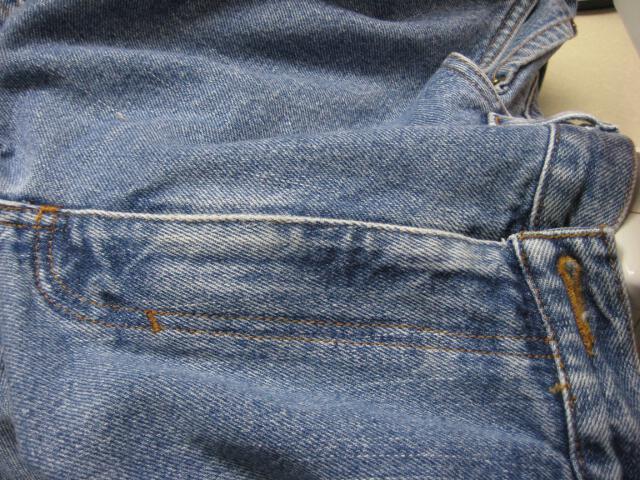
STEP THIRTY SIX:
Here is what the finished bottom should look like. Your curved stitches might not be right in the same spot as those you have removed. Don't worry if they are not exact.
|
|
STEP THIRTY SEVEN:
Here is the finished product! The two rows of stitches should be evenly spaced, bartacks are clean and uniform and everything lies flat.
|

|
STEP THIRTY EIGHT:
And this is the inside of the crotch area. The extensions are also flat. The zipper is quite secure.
|
Whew. That is a very involved set of instructions. Steps 19, 20 and 21
are confusing, I'll admit. But I promise once you get the hang of it,
replacing a zipper will take you much less time than it did for me to
write these directions! Depending on the time it take to rip out the old
one, I can usually do this alteration in less than 30 minutes.
So give it a try. You can't really mess it up. The worst you can do is
sew the opening shut. Then what? Just rip it out and start over.
Return from This Page to Home Page